Finalization of Site Menus
Beyond the custom HTML menus that I have created on some of my pages and the interlinking content, there is no additional navigation for the site. Websites should always be sure to be easy to navigate, so you never want to rely on a single link location to ensure someone can find the content they want. Personally, I like to use primary menus at the top of my site and in the sidebar. I then like to use menus/links within my page content, which I have already done. Now all I need to do is create the primary menus. To start, I'm going to work with the main menu at the top of all pages of my site. I had created a custom menu called Top Menu for this particular menu. I am now going to revisit this menu and complete it. Go to Appearance -> Menus in the WP admin sidebar.
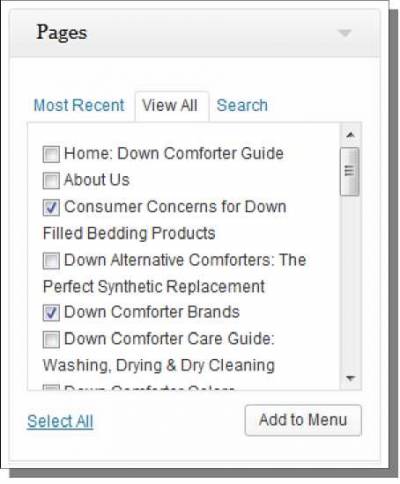
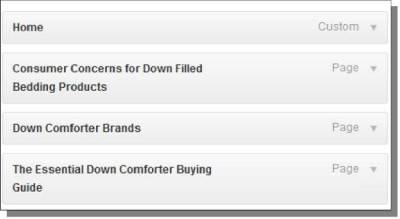
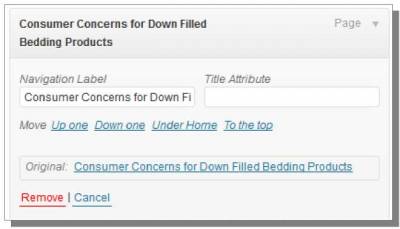
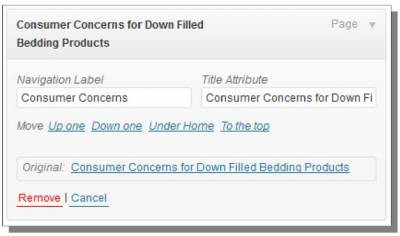
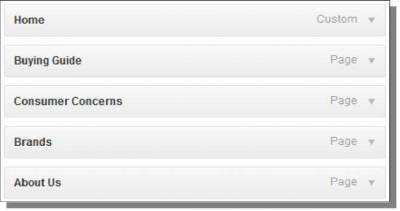
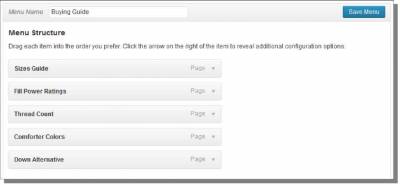
Since this is the only menu I have created on this site, it should already be open on this page and ready for me to edit. On the left side, there is a box called Pages that should now be loaded with all of the pages that exist on the site. I simply want to find my three category pages here and add them to this menu. Just click on the checkbox next to those pages and click on the Add to Menu button. On the right side, you can now see all of the pages in the menu including the home page and the category pages we've just added. The main problem with how this is automatically created is that the menu links are the same as the page titles. If you have longer page titles like most of mine, you'll find that simply won't work to use the titles as the link text. The picture below shows the pages set up for my menu and the initial link text for them, which will obviously be too long. Now I need to edit each of these menu items to change the link text. Just click on the down arrow on the right side of a link box to expand the options to edit that link. I've expanded the first category link here. This is how it looks right after I have expanded it: The Navigation Label is the long text that I want to replace for the link text. The Title Attribute is blank, so I also want to set that while I am here. An easy way to make these link text changes is to simply move the existing page title into the Title Attribute box, and then add a short version to the Navigation Label to be the anchor text for the menu link. I've done this below with the Consumer Concerns link: After I have done this with all of the menu links, I can then drag and drop specific links to change their order (if desired). I'm also going to add one more link to this menu - for the About Us page on the site. The picture below shows what my Top Menu now looks like in the menu editor: Once I'm done, I'll click the Save Menu button to ensure my changes are saved and live on the site. You can see the menu at the bottom of the picture below: I am now going to proceed to create three new menus - one for each of my main categories. At the top of the menu page look for the create a new menu link and click it. Next, name your menu after your category so you can easily identify it in the future. After you have given it a name, click on the blue Create Menu button. I will then add pages to this menu in the exact same way that I did for the home page. On the left, simply select the sub-pages that go with this particular category and add them to the menu. Be sure to edit the link text and title attribute, then arrange your menu items in the proper order you want them to display. Here is my Buying Guide menu completed: When you're finished, click the Save Menu button. Then proceed with creating additional menus for each of the categories on the site.
© Site Construction 2/2 >>> Back to TABLE OF CONTENTS <<< | |
| Views: 481 | |
| Total comments: 0 | |

