YouTube Channel Creation
The other Google services I have covered in this guide so far should be considered mandatory for each of your sites. With that said, there is one more Google service, YouTube, that can be very helpful for your site, although it is something that you can consider optional. To create a YouTube account, you have to create your own videos. This can be done in a variety of ways, but all of the video creation options will require you to record your voice (which some people object to doing). It really doesn't matter if you have a great speaking voice or not, and even the worst speaking voices will improve with practice. If you don't believe me, search out some of my plugin tutorial videos from 2010 or 2011 on YouTube - just a couple of years ago - and compare them to the videos from this training course. To get started, just visit: http://www.youtube.com/
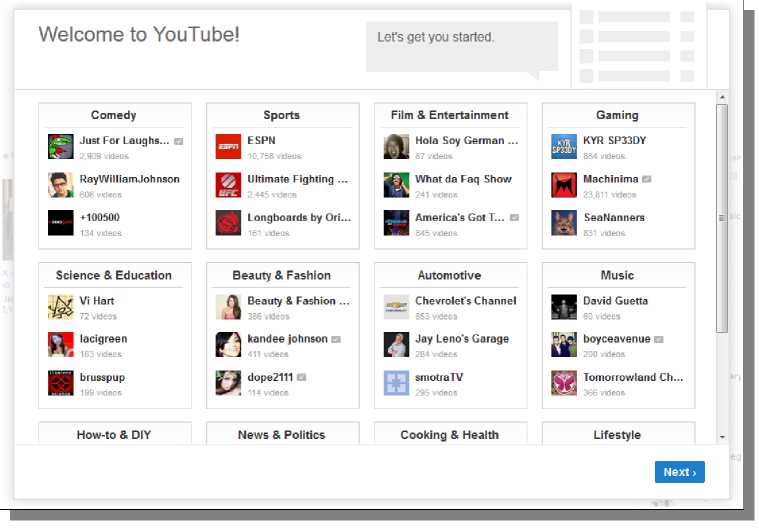
Since YouTube is Google owned now, you don't need a separate account. Once you visit the site while logged into your Google account still, you should see the window below show up over the YouTube website:
This is to add subscriptions, which you don't have to do. However, if you don't plan on creating many videos, you can actually subscribe to some highly relational channels to boost the relevancy of your own channel. For now, you can just click on the Next button because you can always search for channels to subscribe to later. Then, click the Cancel button on the next screen. If you click on your name in the top-right of YouTube, it will open a menu for you:
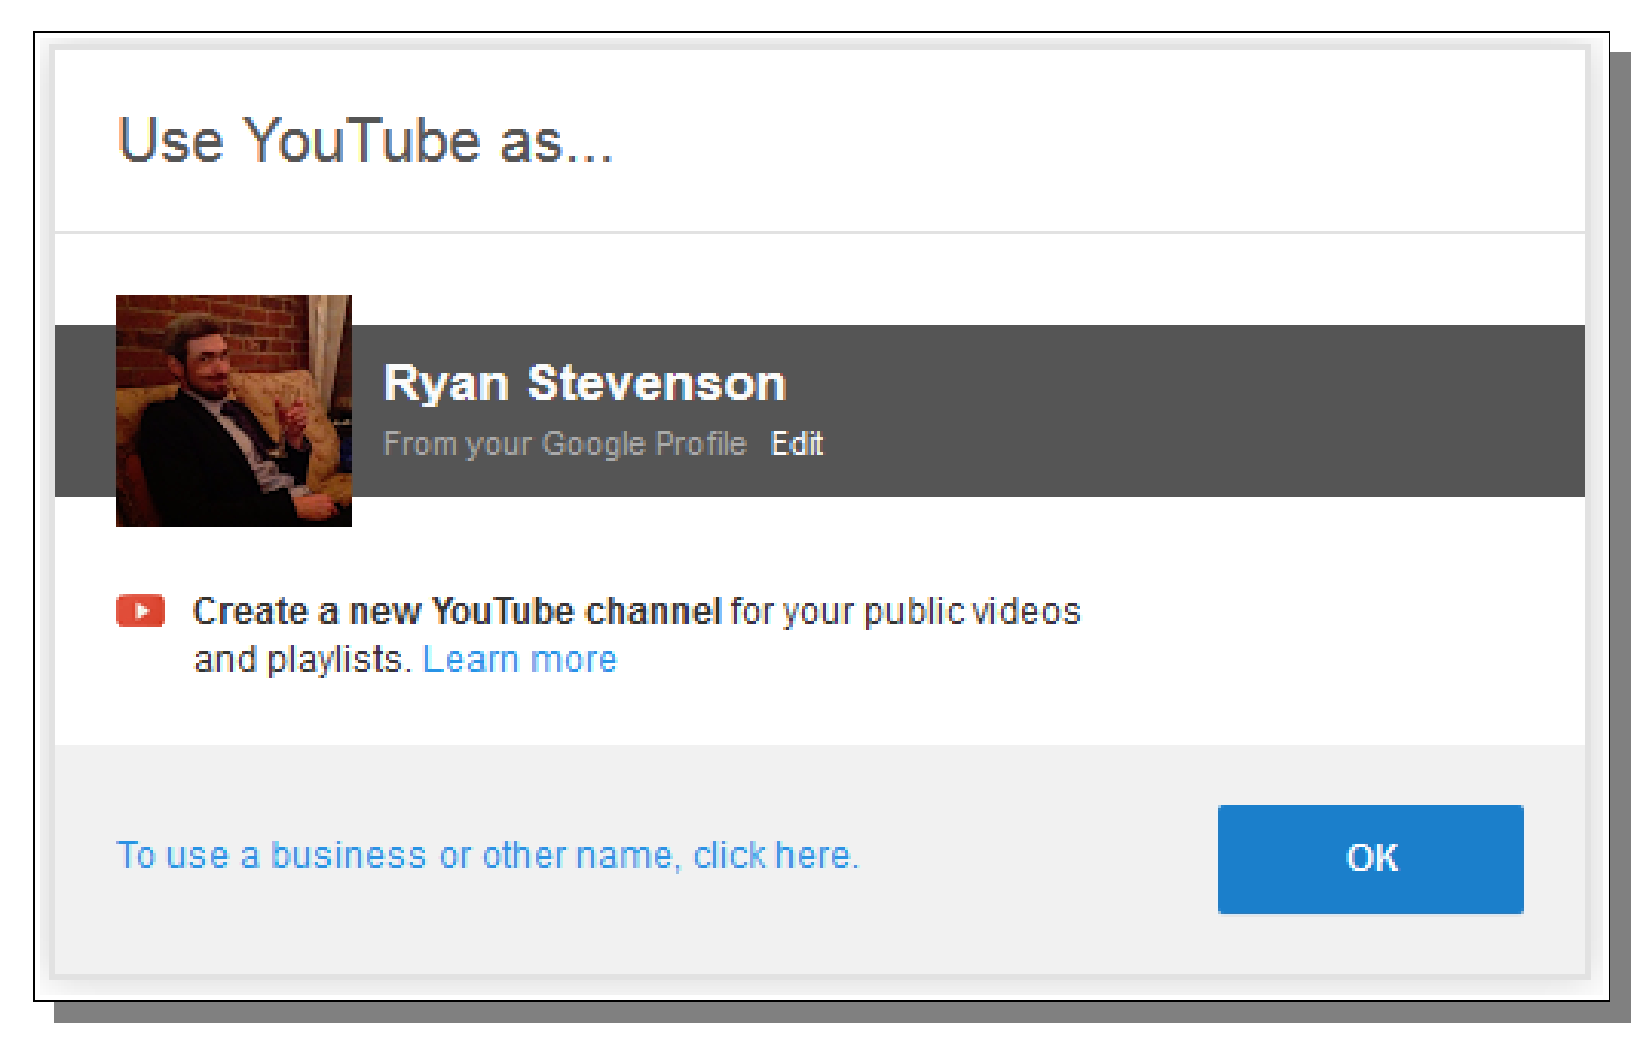
Click on the My channel link to create your channel. You can do this using your name or you can also do it under a business/other name. You can actually have multiple channels on a single account, if you want, so you could use a single Google account to run many Amazon sites. I'm going to click on the text link in the bottom-left: To use a business or other name, click here.
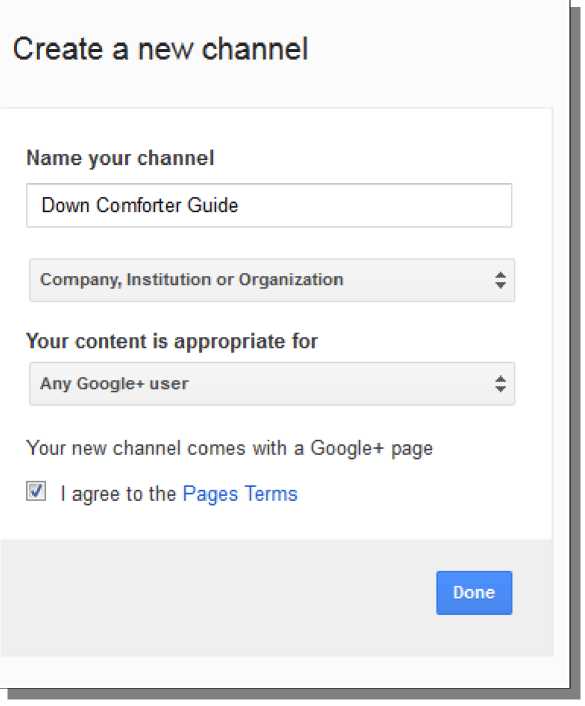
This allows me to name my YouTube channel, which I will call Down Comforter Guide. Just provide a name for your channel, and select the other options, as seen below (make sure your content selection for the last drop-down box is accurate). Click the Done button when you are finished.
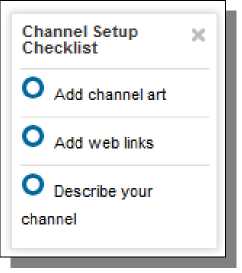
YouTube will then walk you through a brief tour of your channel. The Channel Setup Checklist is the last part of this, which shows up in the top-right of the page.
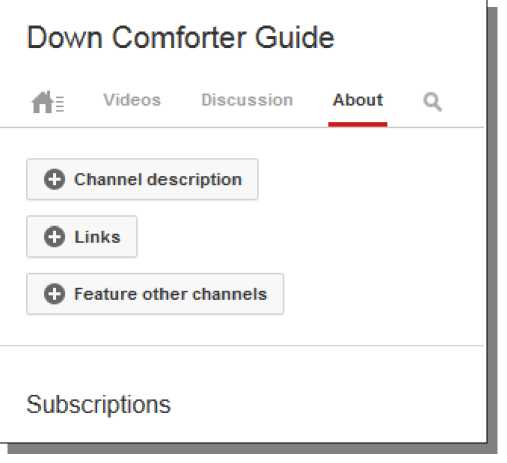
The channel art is optional but feel free to add a relational picture if you have something large enough. I'm mainly interested in the web links and channel description here. Click on the About tab in the middle of the page to set these.
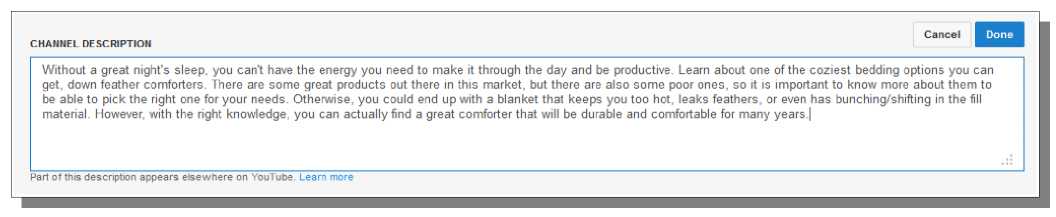
Now just click on Channel description and then Links to provide relevant information. The Channel description is a great place to describe your niche, your products and ultimately the purpose of your channel (good place for search keyword usage).
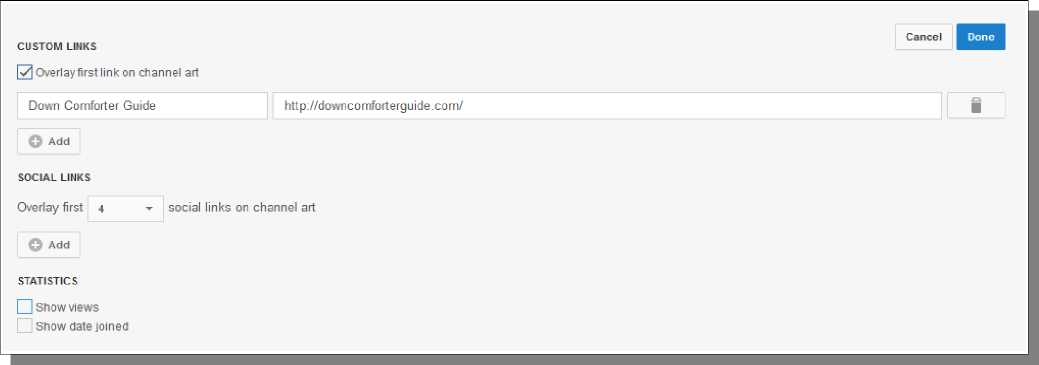
For Links, you should obviously be providing a link to your site, although multiple links can be provided. You can also set it to show social links here. Social links, like to your Facebook page, can be set in the YouTube Settings (through the top-right menu when you click on your name).
© Google & YouTube Marketing >>> Back to TABLE OF CONTENTS <<< | |
| Views: 462 | |


| Total comments: 0 | |