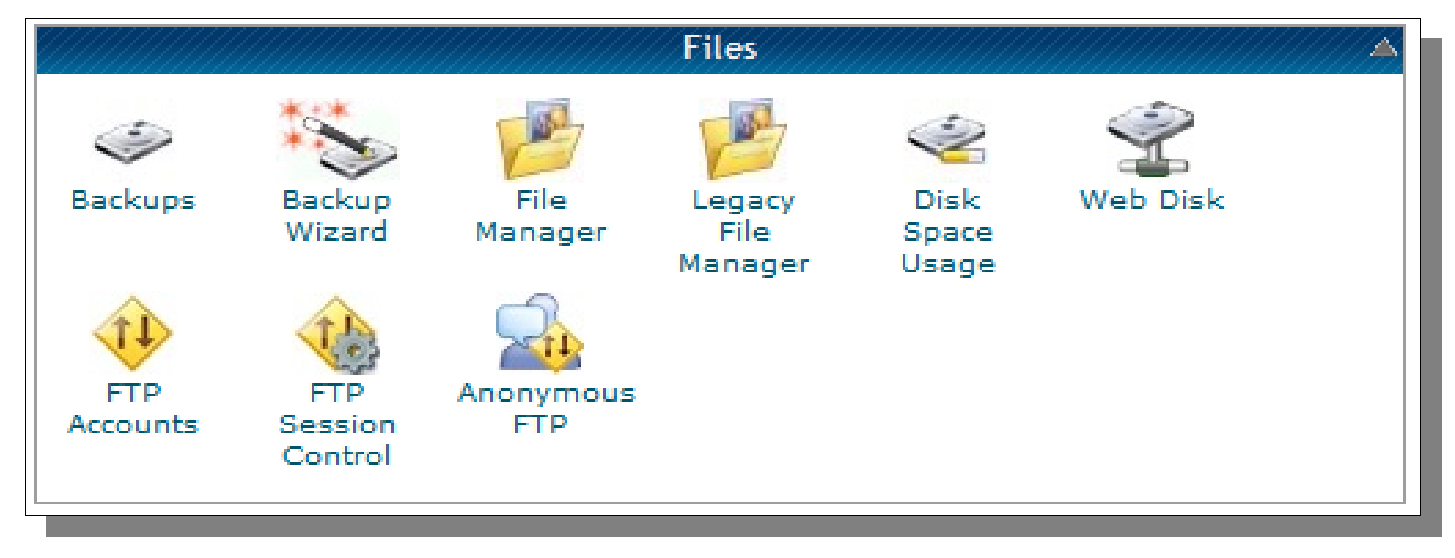
Website Backups & File Manager
In the Files section in cPanel, you can easily backup and restore your website through the Backups icon or upload/edit/delete files from your site using File Manager.
BackupsIf you visit the Backups page, there are a variety of options available for you. The Full Backup option at the top will backup your entire website hosting account including files, email accounts, and databases. However, it is very important to remember that these Full Backups cannot be restored through your cPanel - they can only be restored through the server administration, which most people do not have access to using shared hosting accounts (VPS and Dedicated servers have access to this - WHM). Since most people use shared hosting accounts, you will want to use Partial Backups so that you can actually restore these backups if the need arises. Download a Home Directory Backup to backup the files and email accounts. Download a MySQL Database Backup to backup database tables and information. Either of these two partial backup types can be restored through this same page.
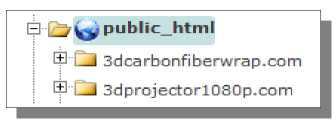
File ManagerThe File Manager is basically FTP access to a site but through cPanel, which allows you to upload new files, change existing files, or even delete them entirely. In the File Manager, you will see a list of folders down the left-hand side of the page. Look for the folder called public_html. Everything within this folder can be accessed through your public website. If you are using multiple domains on the same hosting account, you will likely also notice the domain name folders in the public_html folder. These domain name folders act as public_html folders for those specific domains, so everything within each folder contains the public files for that domain name.
Most of the actions that can be performed on files are available through the icons at the top of the page. You can easily create new files, new folders, copy/move/download/delete/edit files, and even upload new files/folders to your site here. If you want to perform one of these actions on a specific file or folder on the site, simply select it in the window and then click the button.
One particular thing worth mentioning in a bit more detail is the Change Permissions icon. Permissions can be set for any file or folder on a site. Some website scripts that require manual installation will direct you to change the permissions on a file or folder (also called CHMOD sometimes, which is a PHP command that is used to change permissions). In most cases, a script might direct you to set a folder to 755 or 777 to allow scripts to write files to that folder. If you need to change permissions, simply select the desired checkboxes to achieve the desired permission numbers. Permissions of 644 are commonly used to limit the access of particular files on your site, like configuration files. However, unless an installation guide has specifically told you to change permissions, then you will likely not want to mess with them.
© cPanel Training Guide >>> Back to TABLE OF CONTENTS <<< | |
| Views: 442 | |


| Total comments: 0 | |