Video Editing & Publishing
I strongly urge you to avoid video editing, if at all possible. It will save you an enormous amount of time and work. It is much quicker to simply practice your video a few times until you get it right than it is to do a bunch of takes and edit them together. It also produces a higher quality video in the end. If you need a video editor and use Windows, you can use Windows Movie Maker to edit the videos that come from HyperCam. Other software should also be available for Mac, and there are even better titles available for Windows as well. Whatever software you end up using for video editing should have a fairly extensive help/tutorial system. With Windows Movie Maker, you simply load up a video. Then you place the cursor (or stop the video) at a point. You can then right-click the video to split it. Then, you can simply delete split off portions of the video that you do not want anymore. The real purpose of this particular chapter is to actually teach you about publishing your video on YouTube. To start, just click on the Upload button in the top-center of the YouTube site:
Next, just click on the large up arrow in the center of the screen and select the video from your computer that you want to upload to YouTube:
This will begin the video upload. While it is uploading and processing, you can set information for the video. First, provide a Title. Don't be afraid to target a specific keyword phrase here because it can definitely help you bring in traffic from that phrase to your video (just make sure the phrase is very relevant to your video). Next, provide a Description. This can contain a lot of text, which can be beneficial for getting better search rankings on this video - describe your video and what it is about as much as possible. I also take the chance to place a link here to my own site. It can be to the home page or to a relational page of your site. This helps to bring in traffic from the video to your site and also helps to boost the search rankings of your site. The Tags are basically keywords for your video. Target your main keywords for the video here but also target other relational words that people might search for to find your video. As you type, YouTube will make suggestions. Go for these suggestions when they are available but also don't be afraid to make your own keywords when they fit (you can split them with a comma manually). Next, write out a message to Post to your subscribers. This message will be sent out to subscribers of your social media accounts, like Google+ and Facebook, so this message can have a link in it to your own website to help drive traffic to an offer there. The last thing you need to do here is change the Category to something relational. If you can't find a good Category to pick, you can just choose People & Blogs.
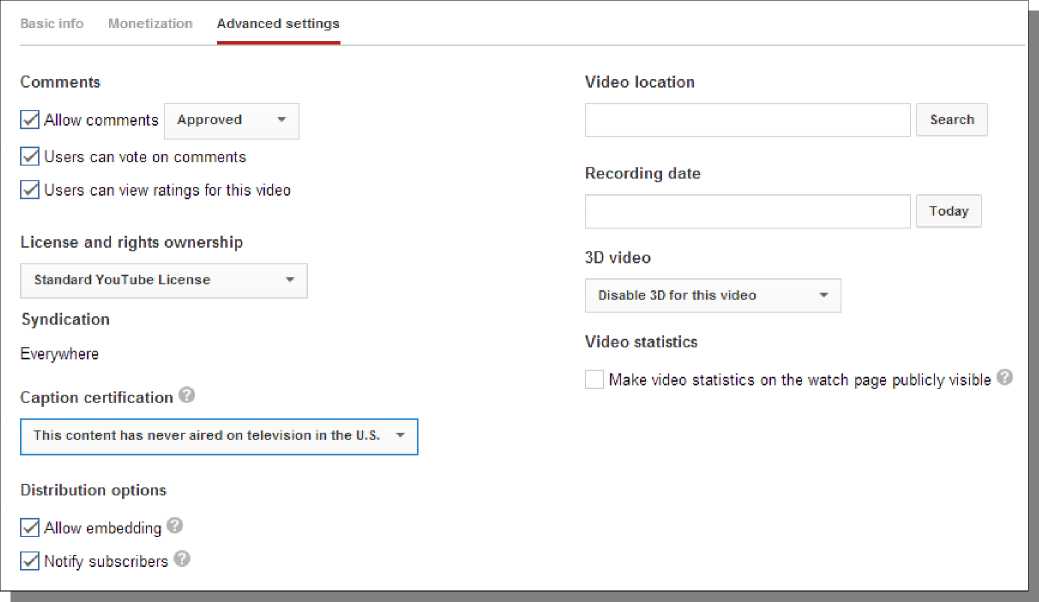
When the video is done uploading and processing, take a look at the Video thumbnails section. You can select one of a few choices of thumbnails pulled from the video to make it more appealing to click, but you can also choose to upload your own thumbnail, if you wish. Also be sure to visit the Advanced settings tab for the video:
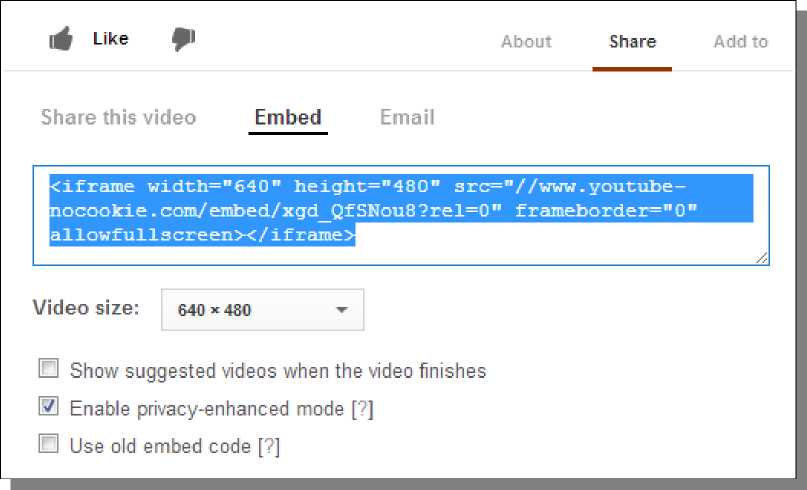
You can do a few things here, like make Comments be set to Approval by you only, set the recording date, etc. I've shown my most common settings above, minus a recording date. If you wanted to put the video on your own website as well, start by visit the video page on YouTube after it is done uploading and processing. Click on the Share and then Embed tabs below the video:
Select and copy the iframe HTML code provided in the box (you can see my normal settings above). You can then simply paste this code into the HTML content of a page on your WordPress site to show the video there and make it playable directly on your site for your visitors.
© Google & YouTube Marketing >>> Back to TABLE OF CONTENTS <<< | |
| Views: 430 | |


| Total comments: 0 | |