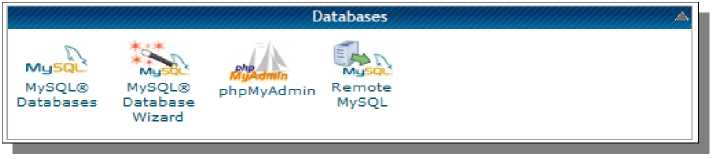
MySQL Databases & phpMyAdmin
In the Databases section, MySQL Databases and phpMyAdmin are the most commonly used icons.
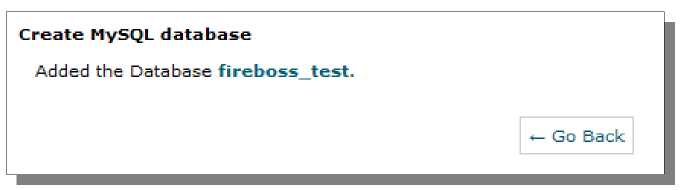
MySQL DatabasesOn this page, you can create and manage your databases and database users. This is the backbone of the database system - if you delete a database from this page, it will completely wipe it out forever with any information that was in it. The steps below describe how to create a new database for use. Look for Create New Database and then give then database a name. Click the Create Database button when finished.
Once the database is created, you'll be shown a message. Click on the Go Back button - there is more to be done before the database can be used.
You should now see the database listed on the page. You may notice that Users in the database is blank. This needs to be corrected to be able to use the databse.
Look for MySQL Users on the same page. You will first need to create a user to go with this database (always create a new user to go with each new database for security reasons). It is OK to give the database user the same name as the database and can also make it easier for you to remember when it comes time to use these settings elsewhere, like in website scripts. After you provide the information, just click Create User.
When the user is created, you'll be shown the username and password - be sure to click on the Go Back button again to perform one last task to be able to use the database.
The last thing that needs to be done is to add the user to the database. Below where you created the user, look for Add User to Database. Select the User and the Database you created, and then click the Add button.
When you add the user to the database, you will be asked to select privileges for the user. For most purposes, you will simply want click on the All Privileges checkbox to select everything, and then click on the Make Changes button.
Once the privileges are set, the database is ready for use. You could connect to it using the settings you just created through a website script. If you manually install some website software, like WordPress for example, it will ask you for database information. phpMyAdminWhen you want to create, edit, view, export or delete information from your database manually, phpMyAdmin is the easiest way to do it. When you visit phpMyAdmin through your cPanel, you will see a listing of the available databases on the left-hand side of the page. Just click on the database name that you created to work with it.
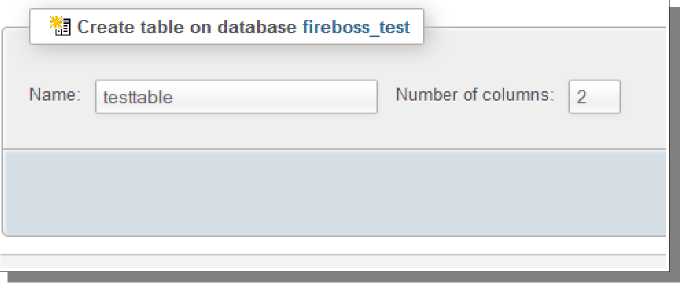
Information is stored in the database using tables for organization. Each table has a set number of columns, each of which will contain a specific piece of information. As information is added to the database, new rows are created and each row will have information for each column. The steps below describe how to create a new database table. Give the new table you want to create a Name and also specify a Number of columns to use. For this tutorial, I will actually be using three columns and not two, as pictured below.
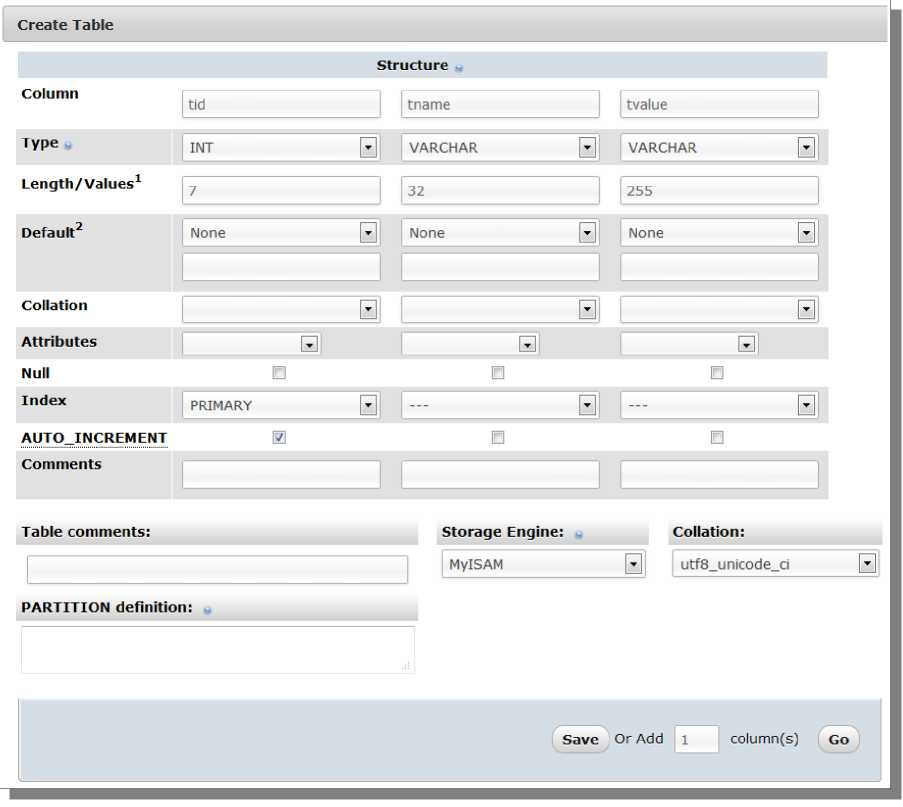
Next, you will need to provide the information for each column for the database table. For most purposes, you will not need to fill out everything here. The most important aspects are discussed below. ColumnThis is the name of the column and should be unique. There are some names that are not allowed to be used here, so try to give your names a prefix of some sort, even if it just a single letter, to avoid this potential problem. TypeThis controls what type of information is allowed to be stored in this column. INT and VARCHAR are two of the most commonly used types. INT is for whole numbers (up to 2,147,483,647) and VARCHAR is for text (up to 255 characters long). Decimal is for decimal numbers, BIGINT is for larger whole numbers, and TEXT/BLOB are for text larger than 255 characters. Length / ValuesIf you are using certain types, like INT or VARCHAR, you need to provide a maximum length in characters for the column data. For INT, 10 is the max you can use and 255 is the max for VARCHAR. Some types, like TEXT and BLOB do not need anything here. DefaultIf you want a column to have a default value for all rows, just select As Defined in the drop-down box and then enter the default value in the text box below it. IndexThis defines whether a column is indexed or not, which allows for faster searching when used properly. In general, when you create your table, do not use this unless the column will be marked as AUTO_INCREMENT. In that case, select PRIMARY here as the Index. After you create a table, if you want row values for specific columns to be unique among other columns, simply add a UNIQUE index to the column. If you plan to use a column to search for information in this database table (through a web script, for example), add an INDEX index to the column. You can define more than one column as UNIQUE and/or INDEX columns, but PRIMARY should only be used once per table and must be set for one column in each table. AUTO_INCREMENTThis is used with the PRIMARY Index and an INT Type column. For each new row created in the table, this column with count up in numbers automatically. This is an easy way to give id numbers to rows in database tables, and the id numbers can then be used in web scripts for easy identification of database rows.
© cPanel Training Guide >>> Back to TABLE OF CONTENTS <<< | |
| Views: 513 | |


| Total comments: 0 | |