Lens Creation Tutorial
We can now begin creating a lens! To get started, just click on the START A LENS! Link in the top-left of the page.
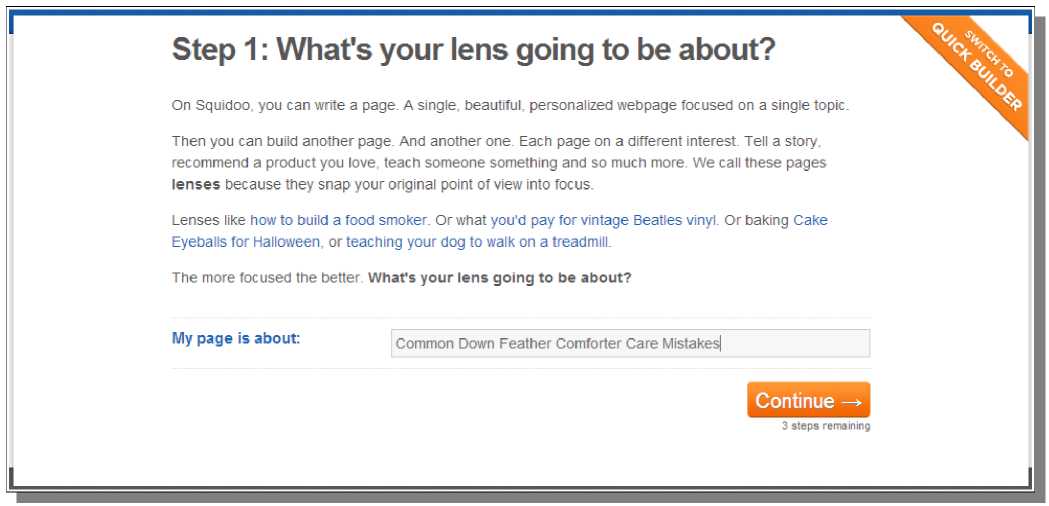
First, you have to proceed through a four-step process before you can actually begin to create the lens itself. Start by telling Squidoo what your lens is about - this ends up being used as the lens title in the next step, although you are given another opportunity to change it. Click the Continue button when you are ready to go to the next step.
For step 2, you start by providing a title for your lens. If you already did this for step 1, you may not need to do anything with it here. Take note of the tip from Squidoo - clever lens titles get more attention. Don't be afraid to use more than just a target keyword phrase in your title because it can help you get more traffic to your lens. Next, look at the lens URL. You can leave this as it is, which will be based on your title. However, you may also want to shorten it or change it to make it more relevant/meaningful. I want a couple of meaningful keywords in my URL, but I also don't want to overdo it, so I will often shorten my URL. The last thing you really need to worry about here is selecting your lens topic. Just look through the options in the drop-down list and pick the most relevant one. You will then be provided a choice of subtopics. You must also set the appropriate rating for your content, but this will most likely be able to be left unchanged. Here are the settings I have provided for this step:
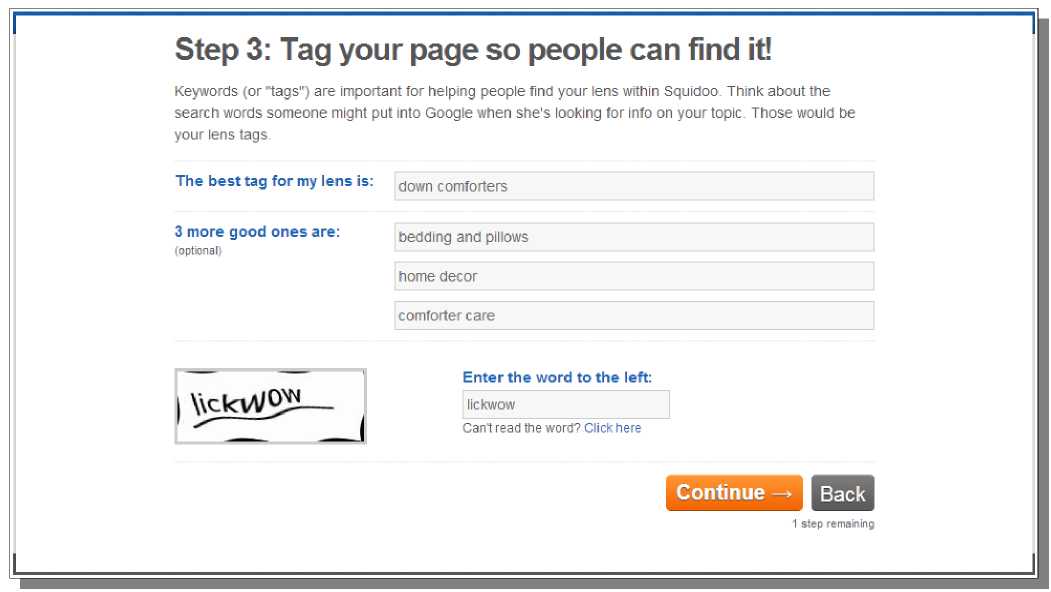
For step 3, we need to provide tags for our lens. Pick four relevant tags to use here. These are keywords or keyword phrases. I often just pick from tags that I have from my research list, but you can also type in words to get Squidoo to offer you some common choices. Try to just select four of the most relevant tags you could use for your lens. However, don't stress over this too much because you will able to return to these tags later to edit them and even add more of them. Once you are done with your tags, just enter the captcha word and then click the Continue button to proceed to the final step.
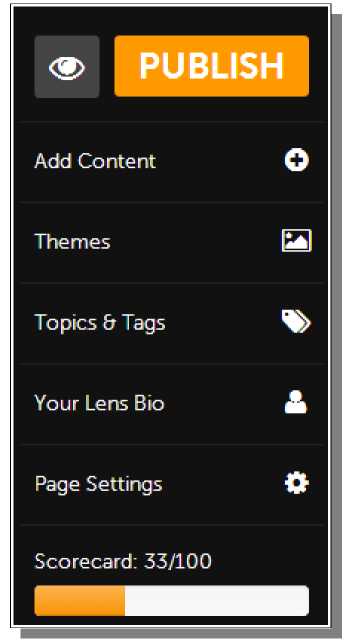
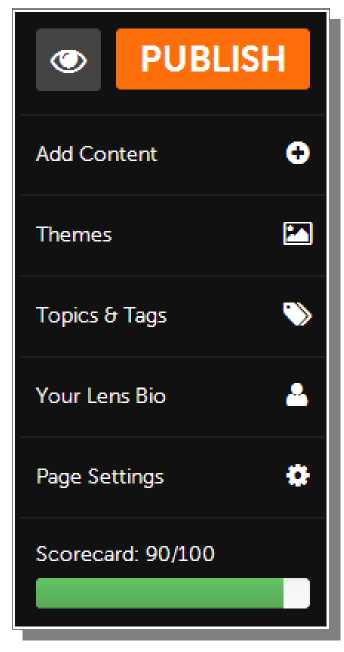
For the final step (not pictured here), you just have to choose how you want to get paid. You can select the cash option at the bottom and provide a Paypal email address where you want to receive your payments. This will be payments for visitors to your lenses as well as any Squidoo powered advertising commissions from sites like Amazon, eBay, etc (just the ads you create with their system). You can choose to donate your earnings from Squidoo to a charity also, something that can actually help to boost the popularity of your lens. If you aren't focusing on earning money from advertising on the lens, you can select a charity option to try to bring more traffic to your lens and eventually to your own website. The actual earnings from a single lens without advertising will not be very significant unless you have a lot of regular visitors to it. If you end up creating a number of lenses, try one of them as a charity lens just to see what happens so you can compare it to a cash lens to figure out which is more worthwhile for you. After you have made your selection, just click on the Continue button to proceed to the actual lens creation page. On this page, you have three main sections. On the left is the toolbar, which is pictured below. This allows you to add new content to your lens, edit lens settings, check your building progress, and finally publish the lens.
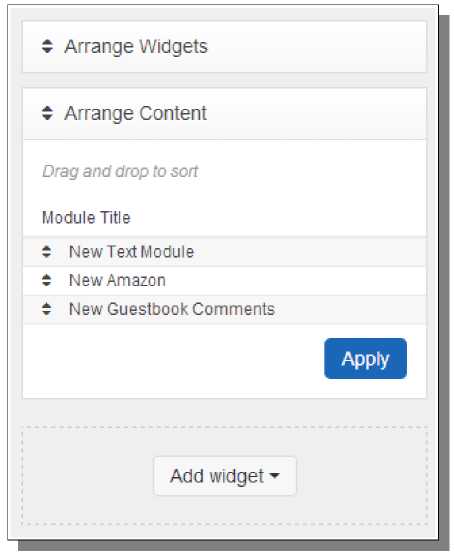
On the far right is the widget and module toolbar. This shows you the pieces to your lens and also allows you to change the order they are displayed on the lens. Simply drag and drop to change the order, and then click the Apply button to make the changes save.
You actually build the lens itself in the middle of the page. A lens is made up of different sections of content, also called modules (seen in the above list). You're started out with some default modules, but you can also add more using the toolbar on the left-hand side of the page. Here is the middle section of my page before I've done anything to it. You can also see that my lens qualifies to be in Cozy magazine, which is because it is in a Home & Garden related category - the magazine seems to offer extra promotional benefits for lenses related to topics that it covers.
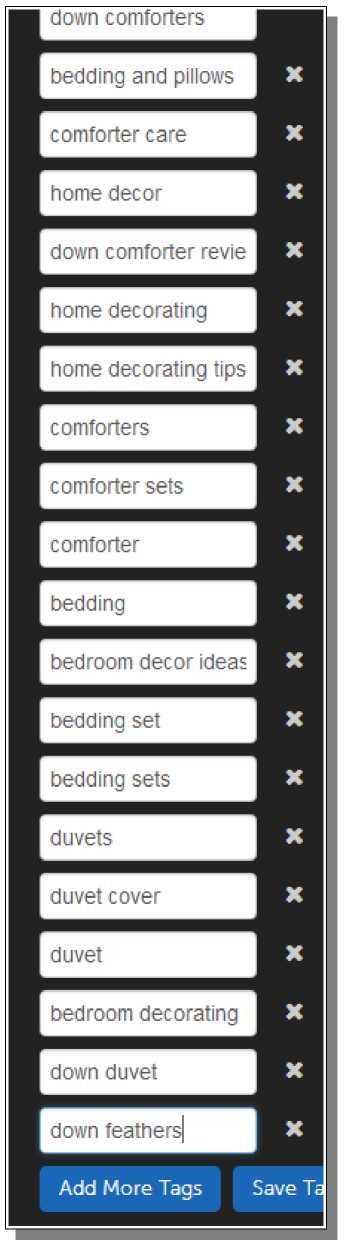
Before I start building my lens, I want to edit some of the settings in the toolbar on the left. I'm going to click on Topics & Tags to start. You can see here that my Bedding and Pillows topic selection is what landed me in the Cozy magazine. Down below, you can also see the four tags that I initially set up for the lens. I can now edit those and/or add more tags. I would recommend having at least 10 total tags, but there is nothing wrong with entering more.
Just click on the Add More Tags button to create a blank text box for a new tag. You can continue to click that button again to produce more blank boxes until you have enough for the tags you want to enter. When you are done with your tag changes, be sure to click on the Save Tags button. I've gone through and entered a decent list of tags for my lens, as seen below:
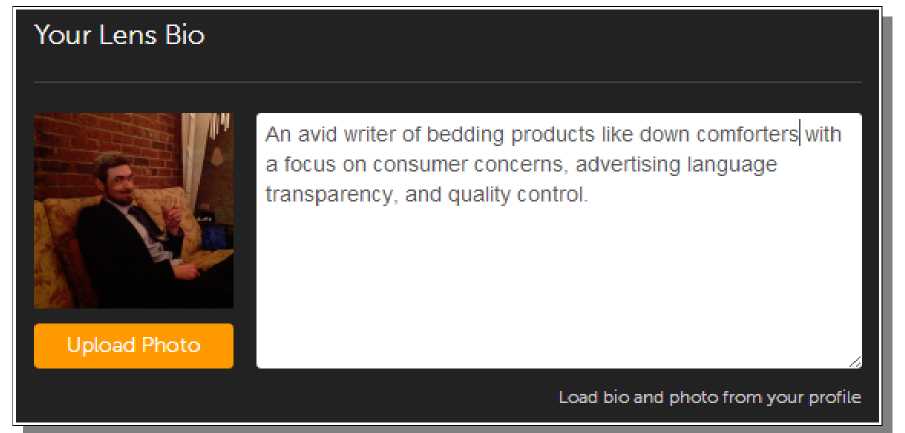
Next, click on the Your Lens Bio tab on the left. This shows your profile picture and biography information. I like to have a preset bio that I can easily make a few minor changes to for each of my new lenses that I create. This particular settings tab allows me to customize the bio for each lens without having to create a different Squidoo account each time.
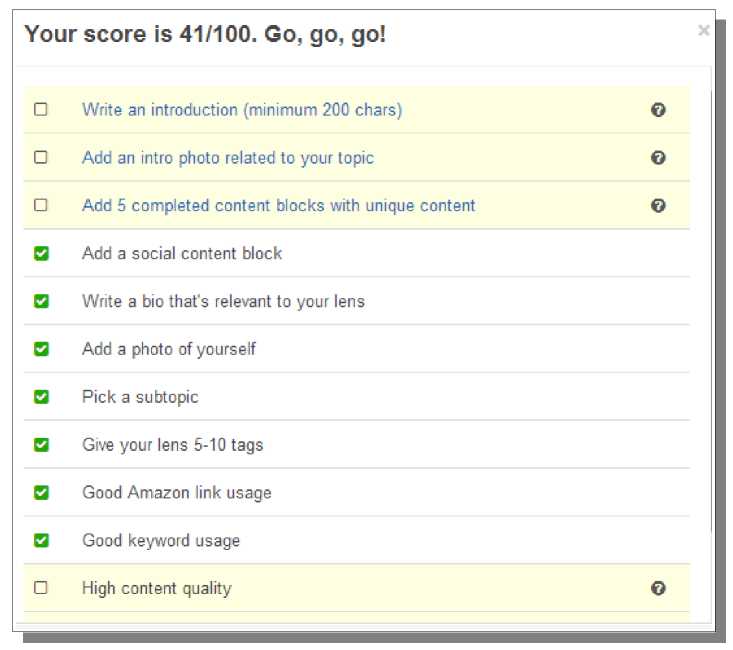
After I've done this, the progress bar at the bottom of the toolbar on the left now says 41/100 instead of 33/100. Simply click on that to open up a window with more information about this. Squidoo has some requirements for each page to create it, which are the items listed here in the scorecard. Simply proceed with your lens creation until you have this complete (at 90/100 - the last 10 is given when you publish). Here are the relevant items for a lens:
As you can see, the remaining tasks that I need to complete involve the content of my lens. Notice their emphasis on high quality, unique content. Make sure that all text you put into Squidoo is your own writing and not something reused from elsewhere (or even spun content). I'm now going to start to create my lens content. Each of the modules listed down the center of the page has an Edit button in the top-right. Simply clicking on that allows me to edit the content for each module. First I have the introduction. I'm simply going to provide a title and some text here that will summarize what my lens is about. I can also use a relevant picture here that will also help to capture attention.
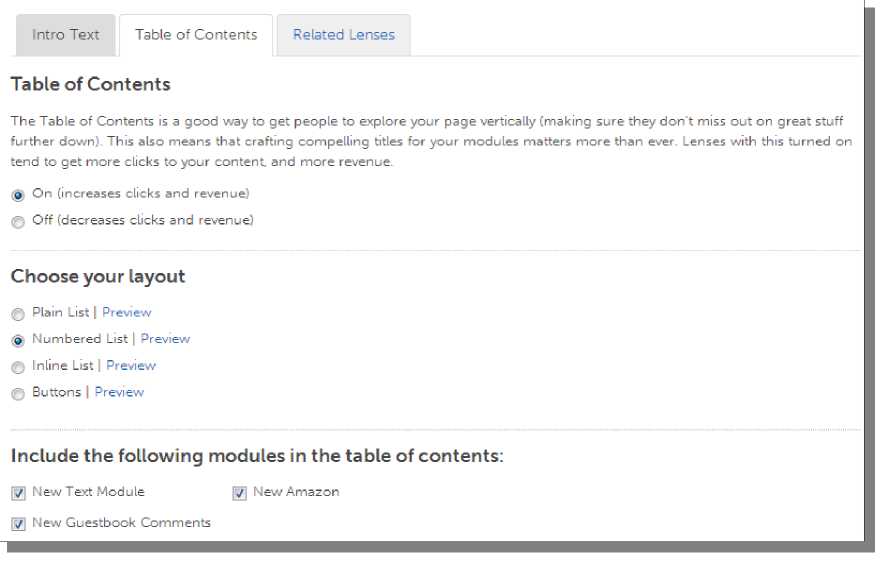
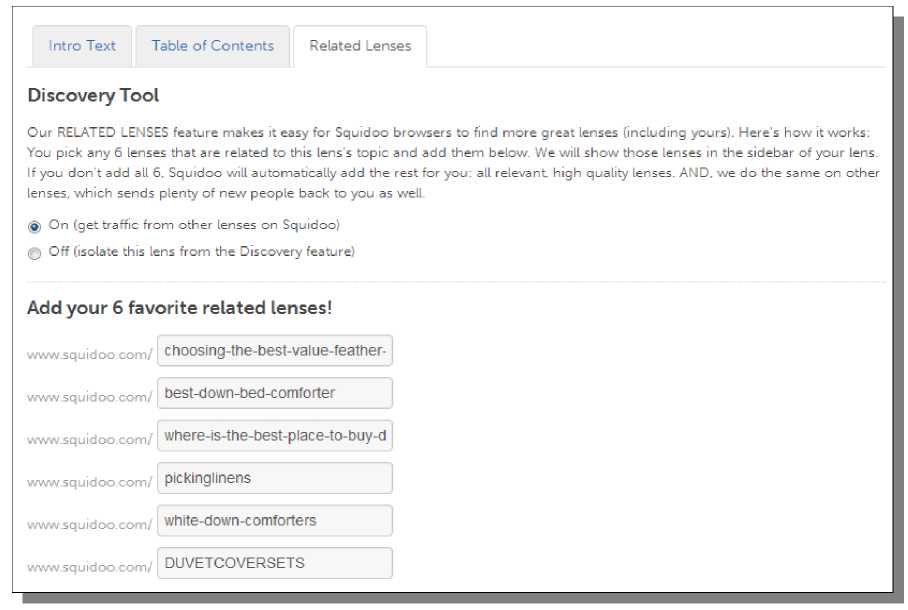
There are sometimes tabs available at the top of the edit page for each module. The Table of Contents tab here can be used to easily create links within your page that will jump visitors straight to specific modules of content in your lens.
The third tab here is Related Lenses. This is where I enter the URLs for the related lenses from my research. Just put in the ending of the URL (leave off the initial squidoo.com portion of each link). Turning this feature on here allows you to receive traffic from other lenses. If you do not specify all six related lenses, Squidoo will select for you based on your tags and content of your lens. I prefer to choose instead of letting them do it for me.
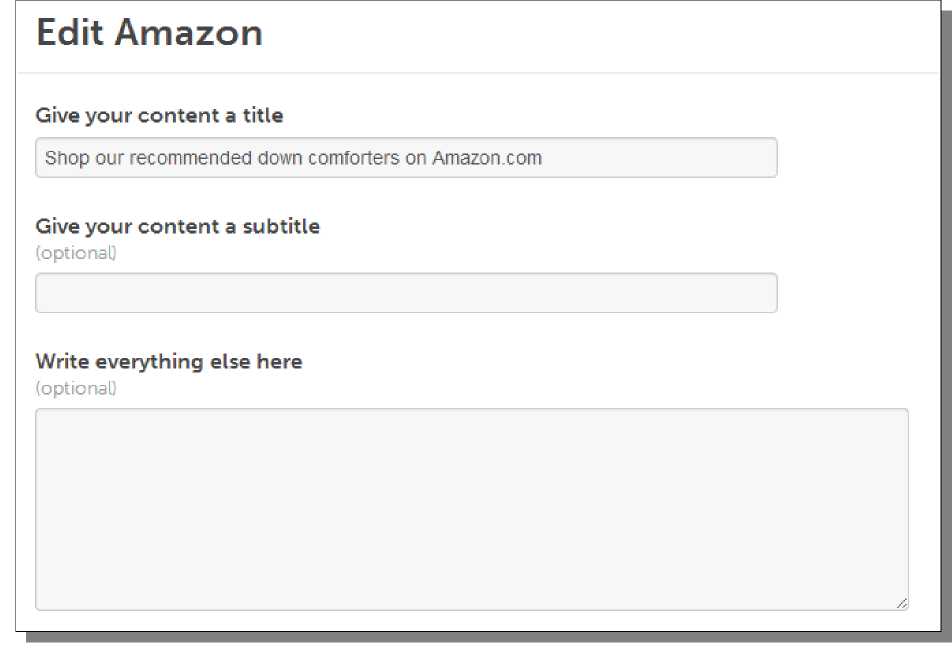
Squidoo automatically provides an Amazon advertising module on the lens, although it can be removed if you wish to keep all advertising on your site. At the very least, provide a title for the Amazon module.
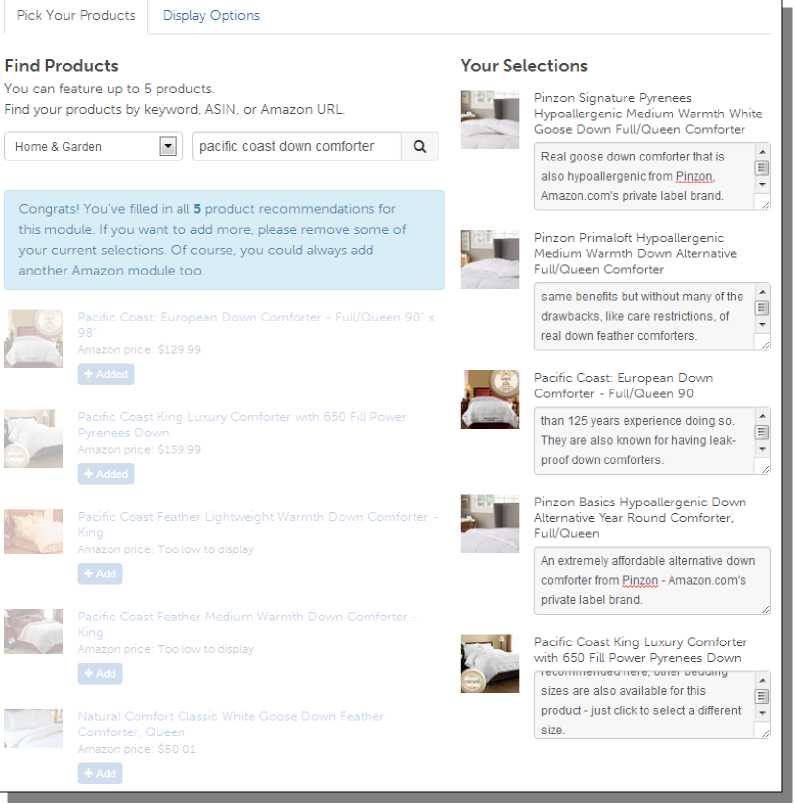
Below that, you can search for and add the Amazon products to the module. Search on the left, click the Add button for the products you want to use, and then set some custom text for each on the right. The custom text is a great place to put a quick, personalized review for each product - something Squidoo recommends to do to increase sales.
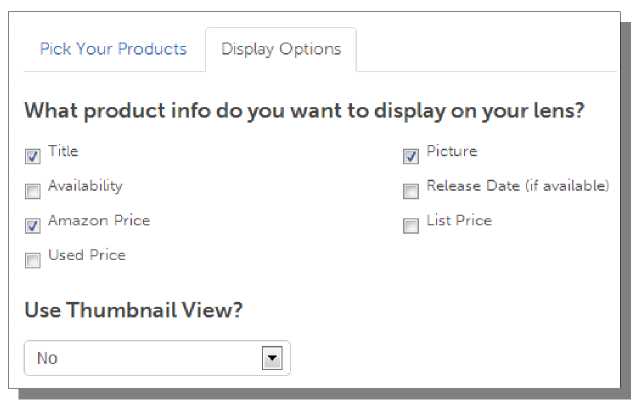
There is also another tab for this section - Display Options. This can be used to change the information that is shown with each Amazon ad in this module, although I typically leave the default settings.
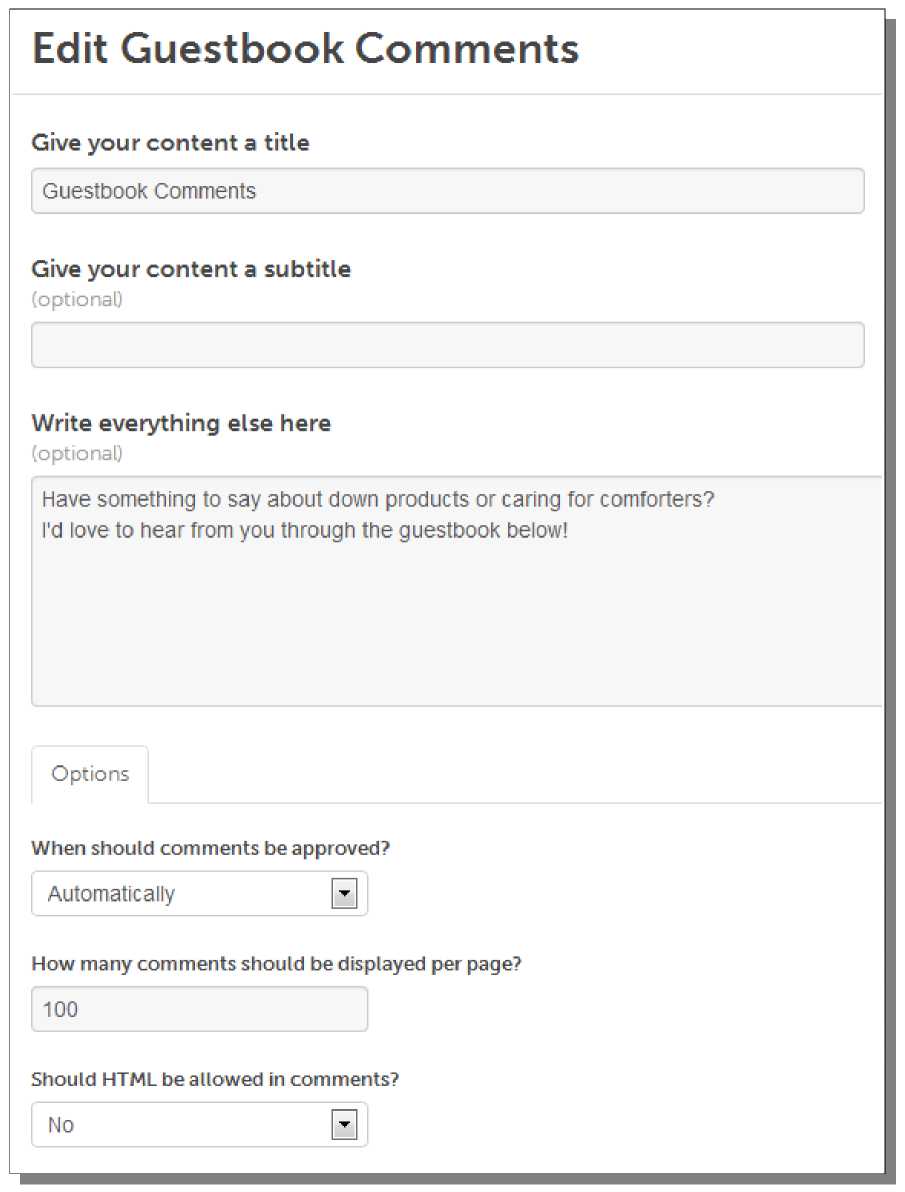
Next, I'm going to edit the Guestbook Comments module at the bottom. This is where visitors of the lens can leave comments. One of the ways you can increase lens rank on Squidoo is by getting more visitors to interact with things like leaving comments (but it can also be other things, like voting on polls). I'm just going to set a quick custom title and description for this module and also prohibit HTML.
Squidoo requires 5 decent content blocks on each lens. To create more of these, just use the toolbar on the left - click on Add Content. This allows you to select from a variety of different content modules on Squidoo, which can be normal blocks of text content, Amazon ads, videos, and much more.
I'll be adding a number of Text modules, my most frequently used type, but I am also going to add a Poll to my lens. I'm just going to create a simple poll for my visitors to try to get them to interact with the page. I am also going to use it as a way to potentially help people decide what product they want to buy, so I am going to ask people if they prefer real down or down alternative. You can see the information I have provided to create this poll below:
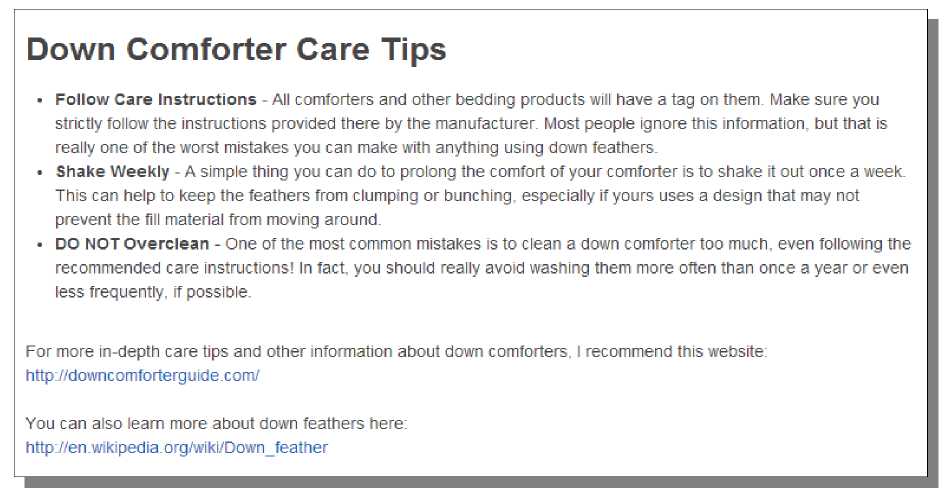
I have not shown all of the text modules in this guide that I created for the lens, but they can be seen in person using the link at the end of this chapter. One particular text module that I do want to show you here is one that does two things worth pointing out. First, I have used HTML in the content to create an HTML list. This can be useful to provide a bit of variety in the look of your content, something I have previously recommended to you in the creation of your own site content. Second, I have also placed an HTML link here to my own website and also to a relational page elsewhere (I picked Wikipedia, but it could be anywhere).
Here you can see how this text module looks live:
Once you are done with your content creation, you should see 90/100 in the Scorecard in the toolbar on the left:
At this point, you can now click on the Publish button at the top to make your lens live. You can see the completed lens from this tutorial here: http://www.squidoo.com/down-feather-comforter-care © Squidoo Marketing >>> Back to TABLE OF CONTENTS <<< | |
| Views: 574 | |


| Total comments: 0 | |