Joining Amazon Associates Program
If you have not done so already, now is the time to join Amazon as an affiliate because we will need information from that account to be able to create our advertising for the site. Start by visiting https://affiliate-program.amazon.com
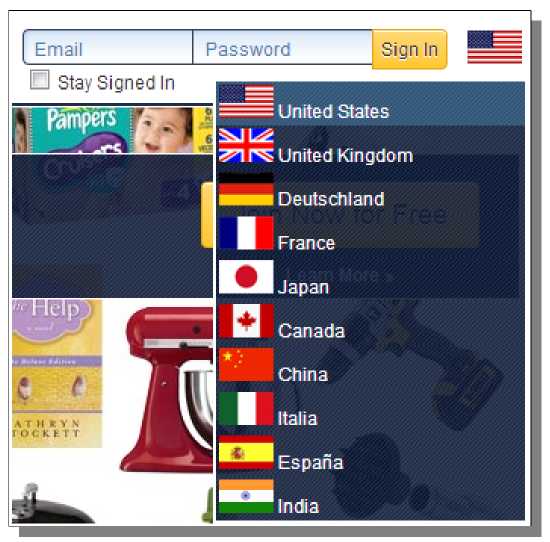
In the top-right of that site, you can see where you enter your login information after you have created an account - this is where you can go to manage your account, view your earnings, or look at reports. Affiliate links can also be generated through here, but we will be using my WordPress plugins to accomplish this for us instead.
Note the USA flag in the corner. You can simply hover over that flag to get a list of all of the Amazon locales. If you want to create an account for other locales or simply view other accounts, just select the appropriate country. If you only intend on promoting Amazon.com products on your site, you will not need to worry about creating an account for the other locales.
Below the login boxes, you will see a large button that says Join Now for Free. Simply click on it to start creating a new affiliate account.
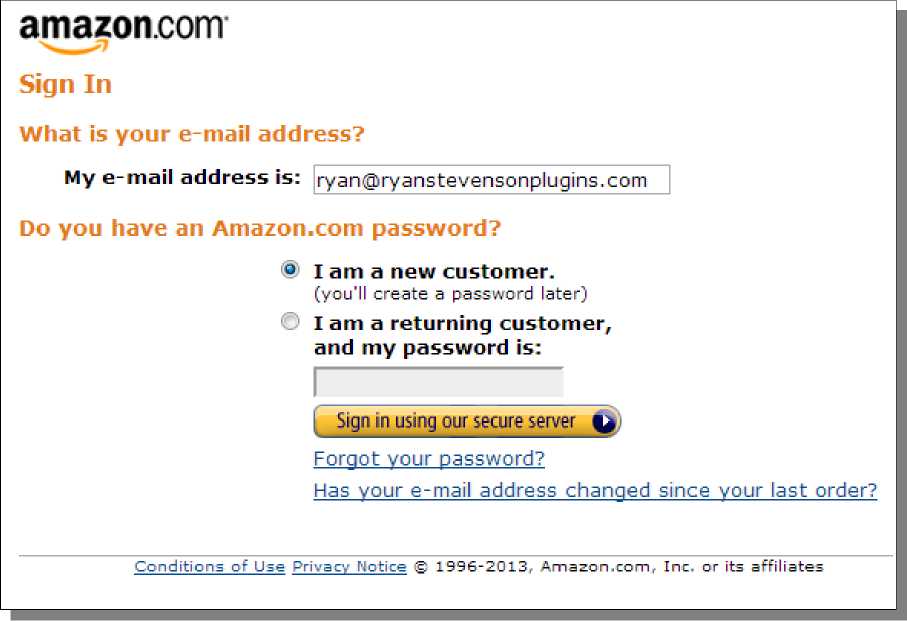
Next, provide your email address, select the bubble next to I am a new customer, and then click the Sign in button to proceed. If you already have an Amazon.com account, even one that you have previously created to use as a customer on Amazon, you can actually use the same info here to create your affiliate account instead of creating a completely new account.
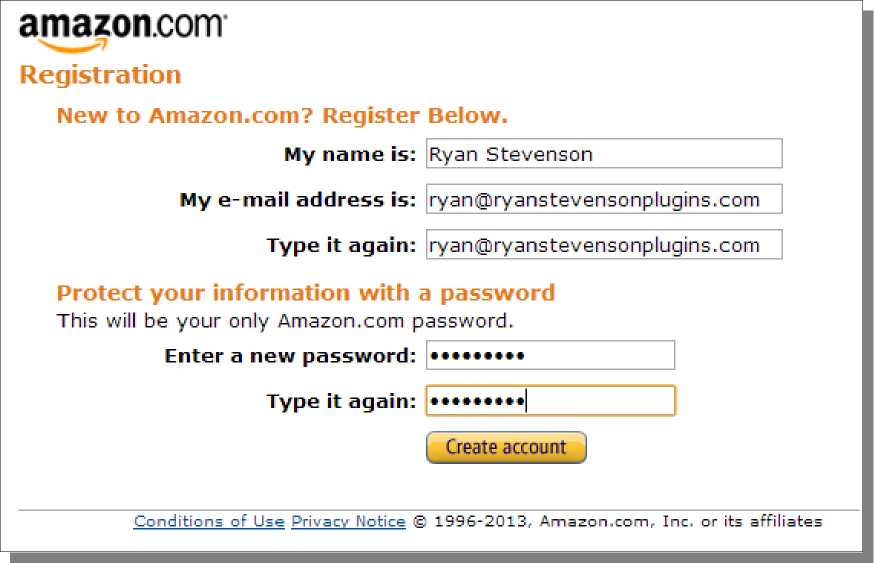
The first step of the account creation process is pretty simple - just provide your name, email and password.
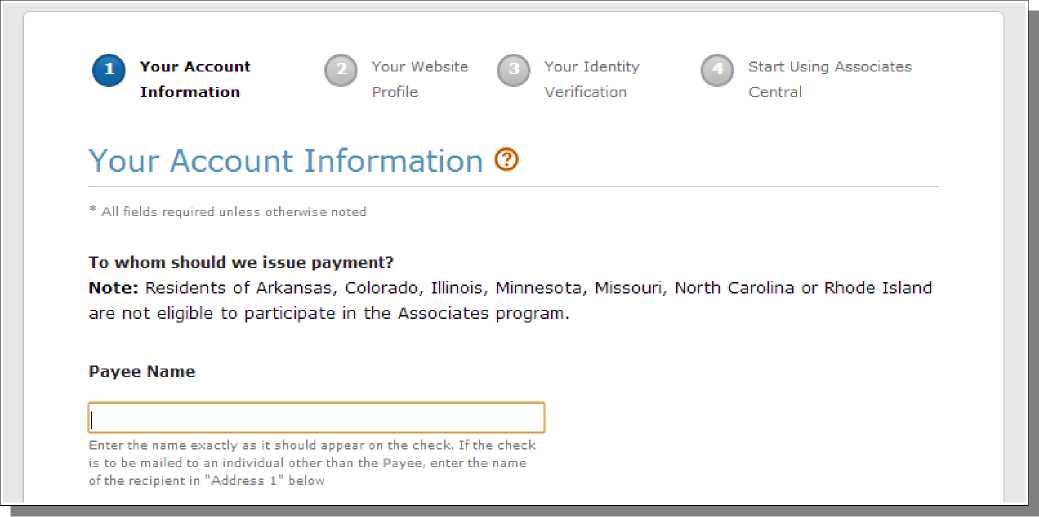
Once you click on Create account, you'll get to a 4 step process that you'll need to complete to be able to use your account. I have shown the top portion of the first step below. This step should be pretty self explanatory because it just asks you for your personal information, which is necessary so you can get paid.
Click the Next: Your Website Profile button when you are done filling out your account information.
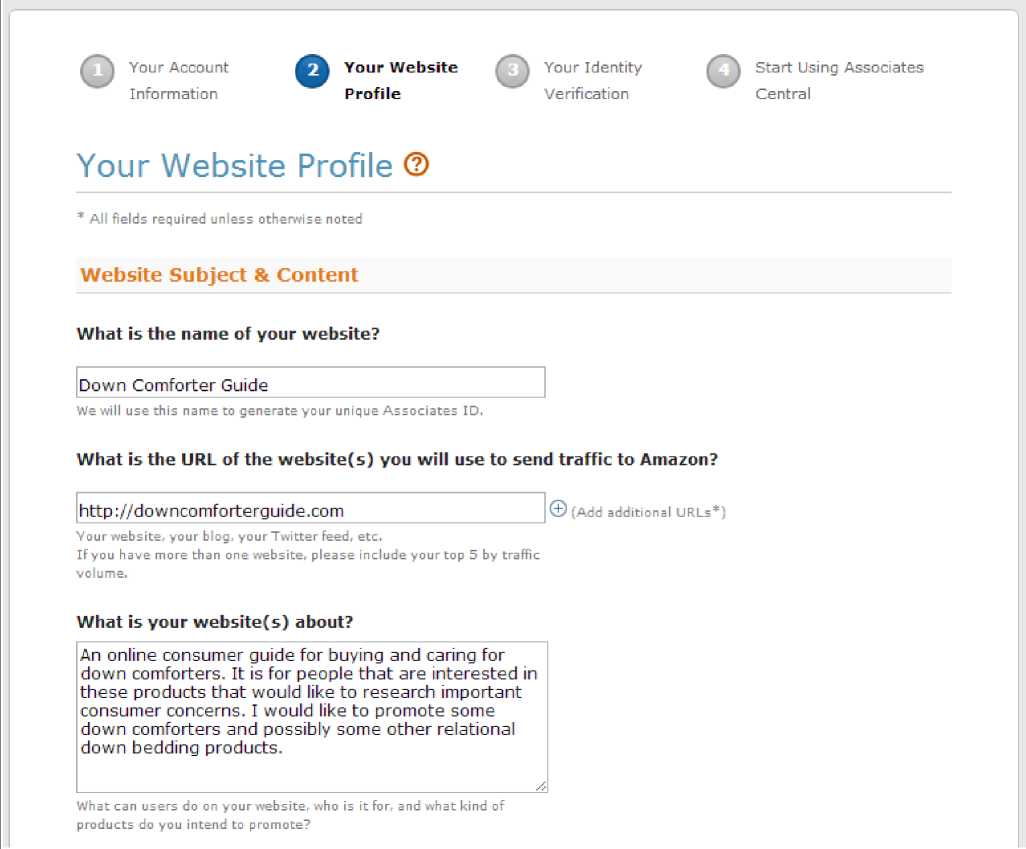
First, just provide your website name, URL and a brief description about the site
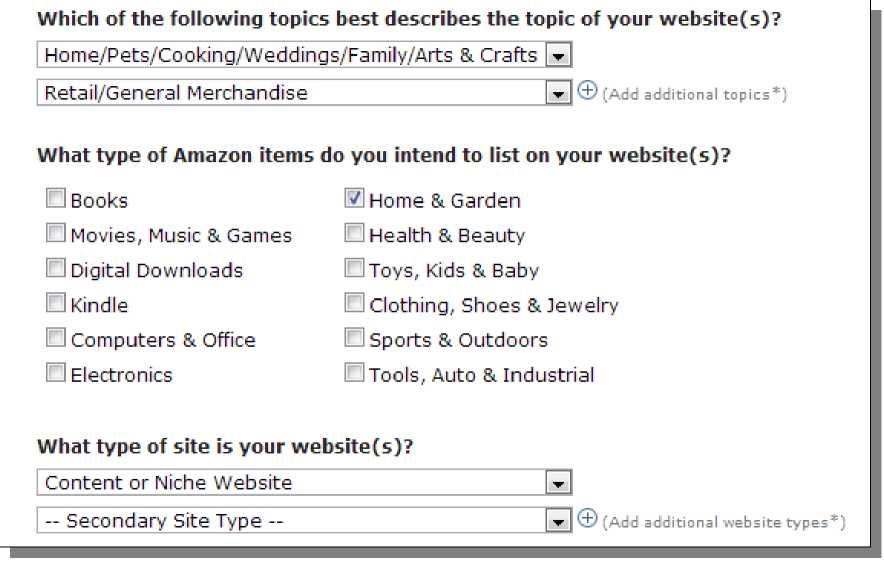
Next, select general categories that relate to your website niche. My site is for down comforters, which is within the Home niche. I selected a second category, but this is really optional if something else fits. Then I need to pick a website type. If you are building a site based on my recommendations, you're building a Content or Niche Website.
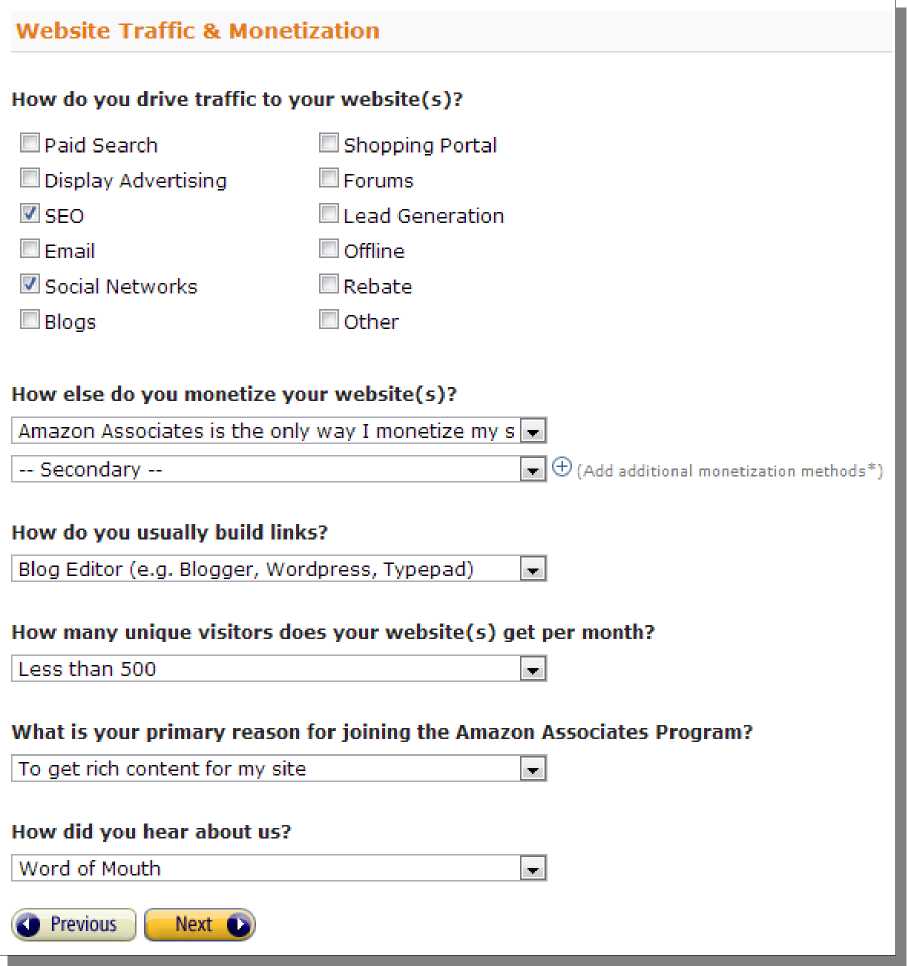
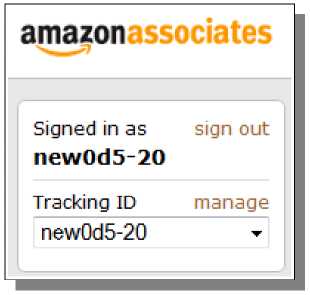
First, pick how you drive traffic to your sites. I teach SEO and Social Networks, so this is all I select here. Then I pick how I will monetize the site. I just recommend using Amazon, so this is an easy choice. I'm building my links through WordPress, and the site is new, so the traffic selection is easy. Do not worry about whether you have any traffic yet or not - Amazon will take all traffic levels. Finally, I always recommend picking that you want to join Amazon to get rich content for the site. Obviously you are doing it to monetize, but rich content is a big reason why Amazon is the affiliate network of choice. Click the Next button to proceed. The remaining steps are straightforward, so I have left those out here. Amazon Affiliate IDOnce you are all signed up, you'll have to wait for approval to be able to get paid, but Amazon will go ahead and let you begin promoting (typically because they will approve most that apply). When you are logged into your Amazon affiliate account, look in the top-left for your associate id:
This shows my affiliate id, but yours will be different. You can also create tracking ids for each of your sites, which act like an affiliate id. This helps you to track the results from each of your individual sites so you can figure out which ads perform good/bad and make changes to your site accordingly. To view stats for your ads, just click on one of the View full report text links in the summary box in the top-right of the page. Amazon API KeysThe next thing we need is to create API keys to use with the WordPress plugins. Start from your Amazon affiliate account and click on the Product Advertising API button at the top.
On that page, scroll down and look for the Resources header. Click the Manage Your Account link here.
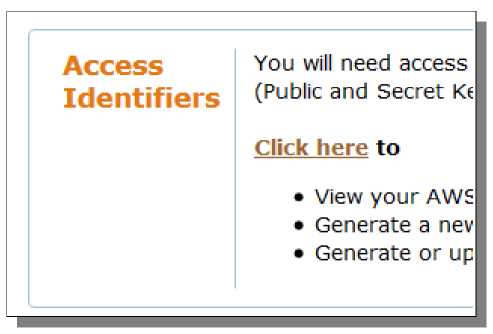
Next, click on the click here link next to Access Identifiers.
On the next page, you will be promoted to login to your Amazon AWS account. Just provide the same information here to login. Important Note: If your Amazon affiliate and AWS information do not match, the API keys you generate will not work correctly, so make sure you're using the same account here. Amazon is changing the way this system works. As of this moment, both the old and new system are available to use to create/manage API keys. However, I will just be going over the new system here to ensure this guide will apply in the future as well. Currently, you can access this new system through a Your Security Credentials text link found in a yellow message box towards the top of the screen on the main AWS account page. Look for the Access Keys section on this page and click on it to expand.
Then just look for the Create New Access Key button.
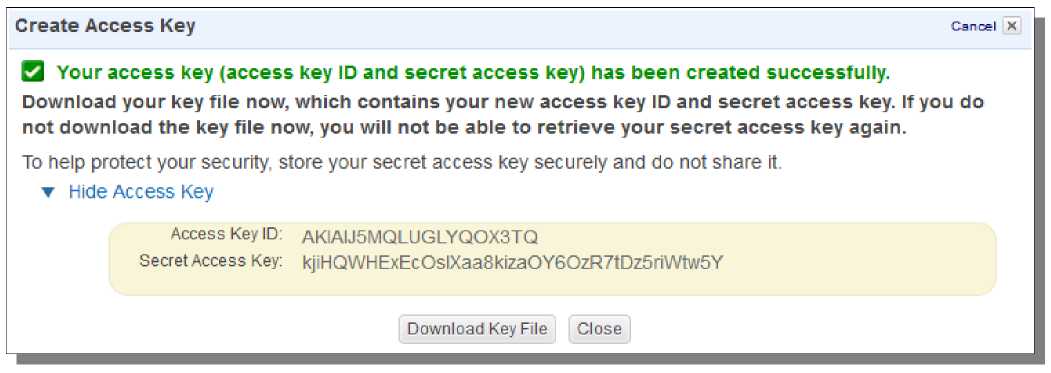
Once you've done this, DO NOT close the window that opens - you need to do something first or you will have to delete the key and create it again to be able to use it. Look for the text link that says Show Access Key and click on it. This will expand the page to show your Access Key ID and Secret Access Key. Record BOTH keys for future use. I recommend just saving them into a Notepad file. You can retrieve the Access Key ID at a later time, if needed. However, the secret key cannot be retrieved EVER once this window is closed! Here is my screen, so you can see the keys you are looking for. Obviously, I will be deleting this key after I am done with this tutorial.
Joining Foreign Amazon LocalesIf you want to join the affiliate program for other Amazon locales, especially those that are not in a language that you can read, I highly recommend using Google Chrome to do so. At the top of the page, it will ask you if you want to translate a site you are browsing if it is in a language that is not standard for where you live. This feature makes it much easier to apply for all of the Amazon locales - the application procedure is basically identical on all of their sites but can still be confusing and time consuming if you can't understand the language.
Amazon Affiliate Site RequirementAmazon specifically requires you to have this statement on your site, modified slightly:
For my site, this is how I will modify that statement:
Where you place this statement on your site is up to you. It could go in the sidebar or footer of each page of the site, or you could also simply hide it on the About Us page of the site. Amazon's agreement isn't specifically clear about whether that statement should be on every single page that has an Amazon ad or whether it simply should be on the site. However, I have made a lot of sites that simply use that statement on the About page and have never had issues by doing so. © Amazon Advertising >>> Back to TABLE OF CONTENTS <<< | |
| Views: 880 | |


| Total comments: 0 | |