Domain Name Server (DNS) Management
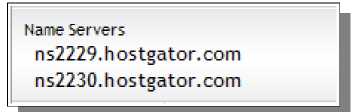
Now we need to get the Name Servers from our hosting account. Go back to the cPanel Home and scroll all the way to the bottom of the screen. In the bottom-left box called Account Information, look for the Name Servers, as shown below:
If you're using HostGator, it should look very similar to this, except the numbers at the beginning of each Name Server will likely be different. I need these two name server addresses to take to my domain name registrar. I typically use GoDaddy to register my domains these days, and DownComforterGuide.com is registered with them. The exact process to do this may look different with other domain name companies, but the basic principles should still be the same. Login to your domain name account, get to the list of registered domains that you own, and then edit information for that domain. In GoDaddy, this is done by visiting their home page. Look for the All Products menu in the top-left -just select Domains and then Domain Management from this menu to get to the right page. On that page, click on the domain name that you want to point to your web hosting account.
This opens the Domain Details page in GoDaddy. On that page, look for the Settings tab with the Nameservers section.
Click on the Manage link under Nameservers to open the Nameserver Settings window.
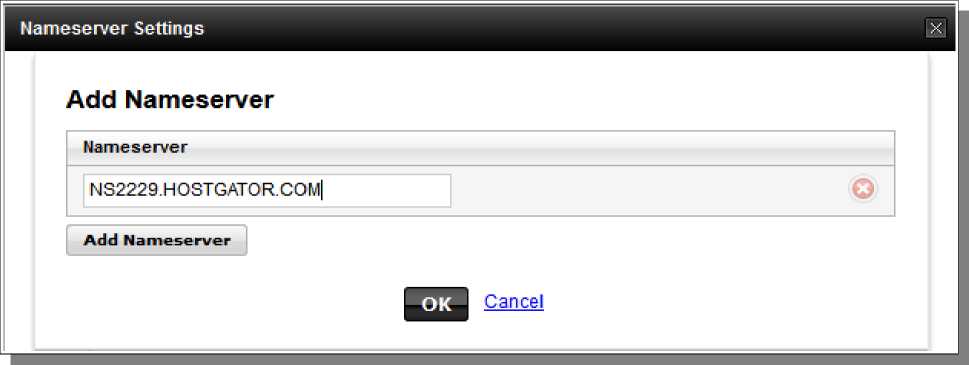
We'll be using the Custom Setup type here, which allows us to set our own nameserver settings. If you have existing Nameservers set here already, be sure to remove them with the red X on the right. To add your new nameservers, just click on the Add Nameserver button.
When you add a new nameserver, be sure to use both that are provided in your cPanel Account Information. Click OK when you are done. Then be sure to click Save on the previous window. © WordPress Installation & Setup >>> Back to TABLE OF CONTENTS <<< | |
| Views: 462 | |


| Total comments: 0 | |