Custom HTML Menu Creation
The last thing that I will be doing for this part of the site construction process is creating a custom HTML menu to use on my home page. This menu is going to link out to the category pages of my site as well as a number of the other secondary pages of the site. Remember the section of my home page that I said I would be turning into custom HTML to make it more appealing and eye-catching? Now is the time to make that happen. That section of my home page content has three different parts - one for each of my site categories. For each of those three parts, I need to add some HTML code. Here is the base HTML code that I will be using for each part (so I will use this code a total of three times on this home page):
Notice the text portions of that code that are in all caps - these are the portions of the code that should be changed each time it is used. There is a category title, description, and image location, as well as 5 locations for linked page titles.
It may actually be easier to take the content from your page and paste it into the base code (overwriting the capital letters). Replace the category title, description and page titles. Leave the image text in place for now - we will change this is just a moment. Depending on the HTML being used in WordPress, you may need to remove all of the line breaks from the code to prevent WordPress from automatically adding paragraph HTML tags (which can mess up the intended look/spacing of your content). I'll show you how this is done quickly in the live class. Add ImagesWith the edited code in place on your site, we need to add our images. Find some type of relational image that is legal to use (I discussed things like this in previous classes). We can then upload the image as a category image to use here. To start, I want to select the image text that I will be replacing in my HTML code. Here is the first part of my HTML code, for the Buying Guide category:
Now, click on the Add Media button towards the top of the page:
Click on the Upload Files link at the top:
Then click on the Select Files button in the middle of the screen:
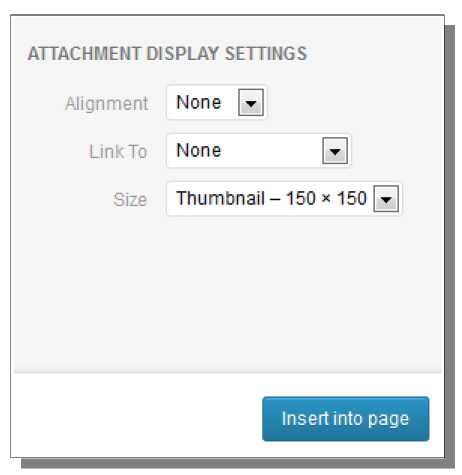
Find and select the image file on your computer that you want to use. Once you do that and the image finishes uploading, look in the bottom-right of the screen for the Attachment Display Settings. Select None from the Link To drop-down box, and then select Thumbnail from the Size drop-down box.
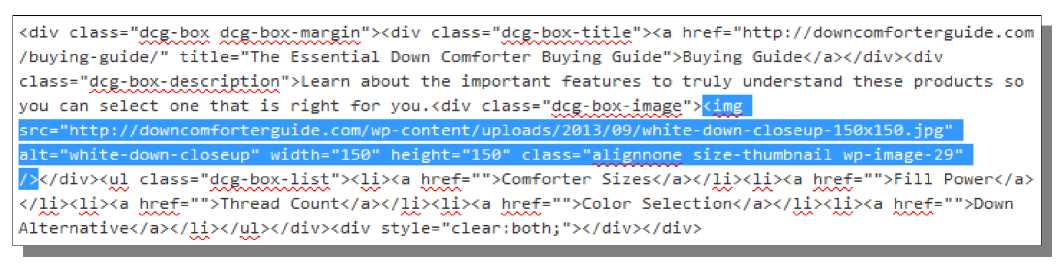
Above that group of settings, you could also set Alt Text for the image. This is text that will show up if in place of the image if it is unable to display for some reason (like if it doesn't load or if the user simply has images disabled in their browser). This Alt Text rarely gets seen by public site visitors, but search engines will pick it up, so it is often used by marketers for keyword targeting. Personally, I like to set something here, especially for important images on my site, but I also try to be very careful with keyword spam. Be specific with your Alt Text and briefly describe your image without going overboard or using too many keywords. Once you're done, just click the blue Insert into page button in the bottom-right. This adds the image in place of the selected text in your HTML code. Just repeat this process for the other categories to complete the images and the HTML code. Now we need to link up the category title and the image to the corresponding category page. Here is my current HTML code for the first box, which is for the Buying Guide category:
I have selected Buying Guide towards the beginning of this code - this is the page title. Now I want to click on the “link” button in the editor toolbar:
This opens the Insert/edit link window. At the bottom of this window, look for the downward pointing arrow with the text Or link to existing content next to it. Click on that arrow/text to get a list of the existing pages on the site. Simply find the page that corresponds to the link you want to create, click on it in the list, and then click the blue Add Link button in the bottom-right. This adds the link HTML around the text you had selected. Now you want to repeat that same process with the image HTML code (select everything from the less than symbol through the greater than symbol). You can see the previous link that was created and this selected HTML for the image below:
The addition of these two links now means that the header category title and the category image will link up to the category page You may also notice that I actually have blank links set up for the remaining page titles in each of the boxes. These will eventually link up to those pages on my site, but they do not currently exist (will be creating them in the next class). I put the blank links there so the text would display correctly on the site according to the rules I have set in the CSS code (which I will cover in just a moment). At the very end of the three parts of HTML code, add this one line of HTML code:
This prevents content after this point from wrapping up into space that should be reserved for those three category sections in our HTML code (it clears the float CSS we used on those HTML boxes to get them to sit next to each other). Theme CSS Code for Home PageThe last thing we need to do is to set the CSS code that controls how this custom HTML code gets displayed on the public website. I have already created this code for you, and you can simply copy and paste it into your site without making any modifications. If you are using a theme other than Weaver II or find yourself needing to arrange things a bit different from the way I have, you may be able to make minor changes to your CSS (like adjusting the width of various elements) to get this code to work for your site too. Here is the CSS code for my custom HTML on the home page:
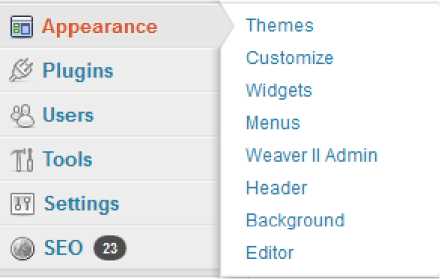
Copy all of that CSS code (select all of it, then press CTRL + C or right-click and select Copy). Now, go to your WordPress site. Click on Weaver II Admin in the Appearance menu.
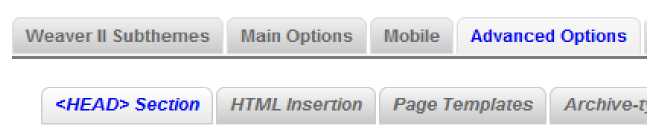
Now select Advanced Options -> <HEAD> Section from the Weaver II menu at the top of the page:
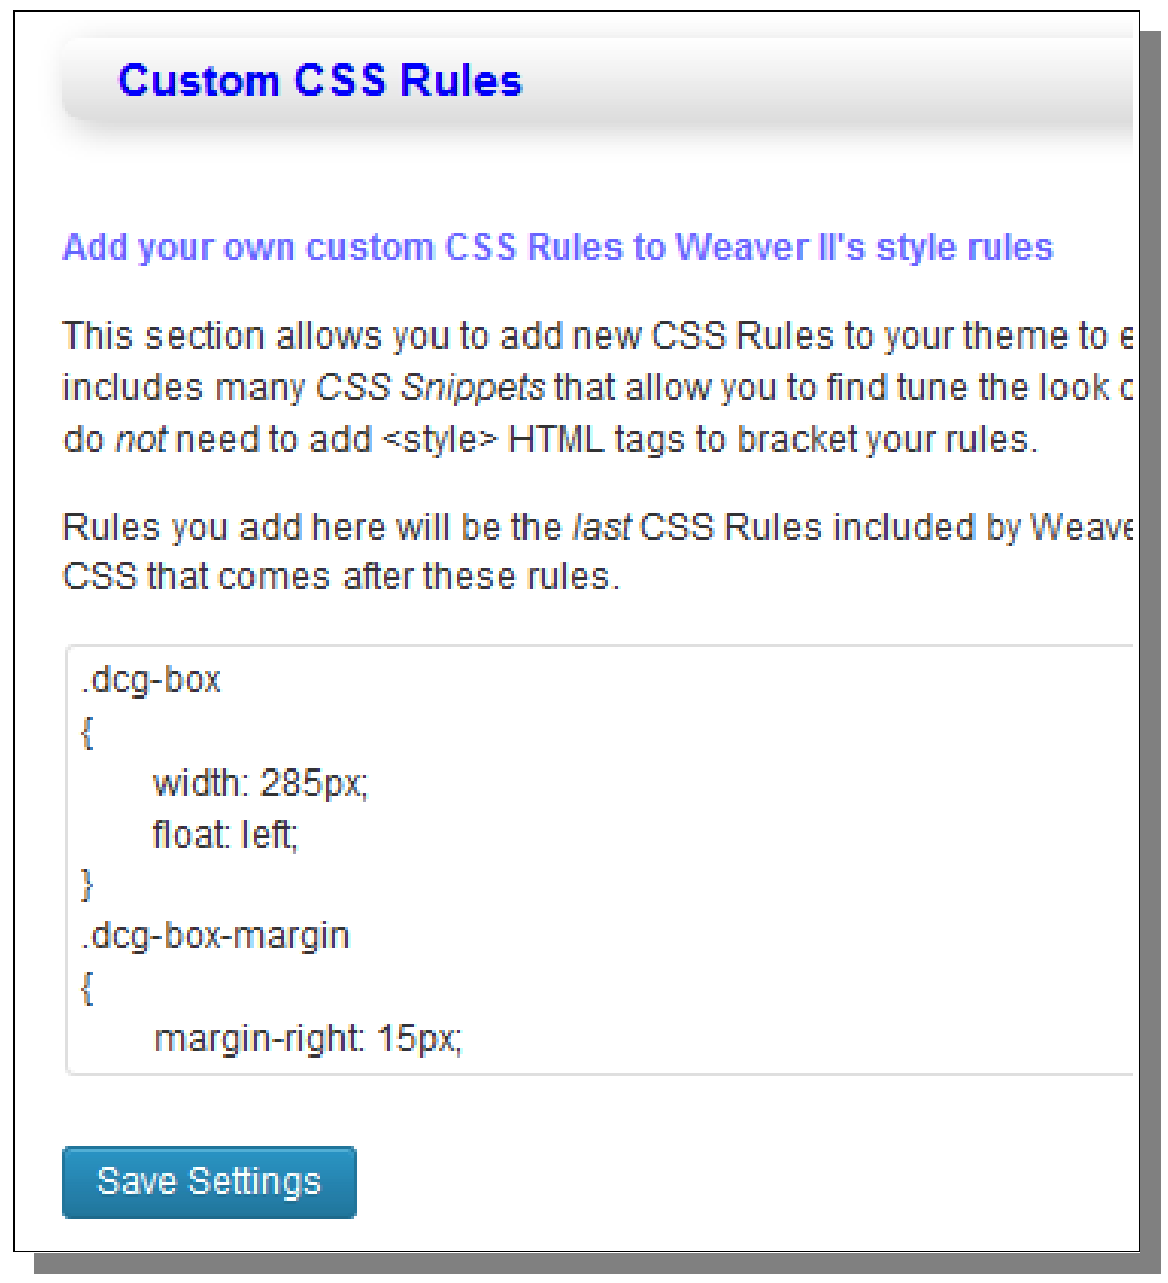
Scroll down to the Custom CSS Rules section and paste the CSS code into the large text box:
Click on Save Settings when you are done. Now we can visit the live home page of our site to see our work. Here is what the custom HTML we just created looks like live:
The actual text sizes and design may be slightly different depending on your theme settings. I am using 13px Helvetica fonts in Weaver II, as seen below (note the navigation at the top to get to this page):
© Site Construction 1/2 >>> Back to TABLE OF CONTENTS <<< | |
| Views: 619 | |


| Total comments: 0 | |