Categories, Posts & Tags
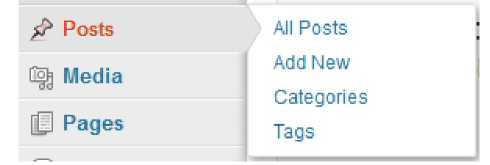
There are really two different ways that you can build your WordPress site - with posts or pages. Even though the decision to pick one may not seem very important, after many years of building WP sites, I have figured out that there is actually a big difference. Ultimately, WordPress works different depending on whether you are creating a post or a page. Personally, I prefer to build all of my sites using only WP pages because it gives me complete control over the site. However, I still wanted to discuss WP posts so that you have a complete understanding of these two ways to create content on your site. I'll be moving on to WP pages in the next chapter, so I'm going to get started by teaching you about posts. The main thing that you need to understand about WP posts is that they are not standalone pages. They are actually connected up with other WP posts through two kinds of associations: a category grouping and a keyword/tag grouping. Take a look at the Posts menu in WordPress, shown below:
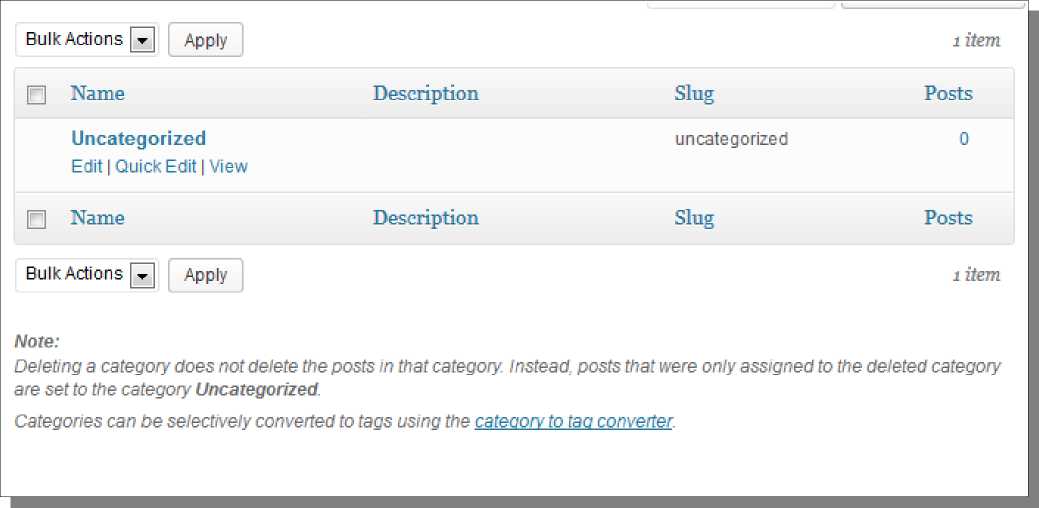
At the top of this menu, you have two links for the actual posts: All Posts (which will show you existing posts) and Add New (which allows you to create a new post). The bottom two links, Categories and Tags, are for the category and keyword groupings. Post Categories Before I show you how to create a WP post, I need to talk about the Categories page first. The WordPress Category system is used to group together posts. Whenever I talk about using Categories on my Amazon sites, I AM NOT talking about these Categories - I actually create WP pages as my Category pages. On the Categories page, you can add a new Category on the left-hand side of the page or edit existing Categories on the right. There is already a default category in the system, called Uncategorized (pictured below). However, I am going to create my own Category to show you how this system works, and so I can point out why I don't like to use it.
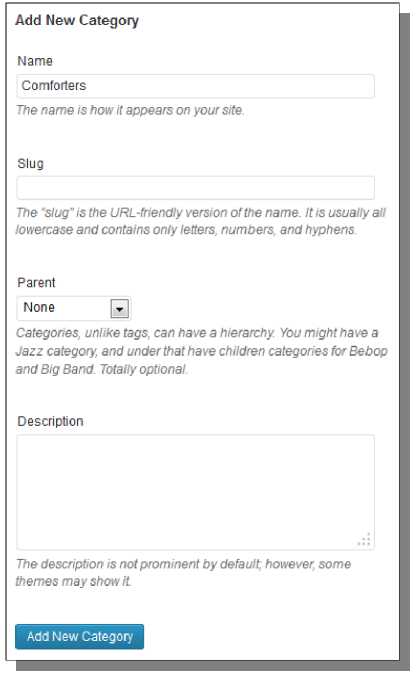
On the left-hand side of the page, I am going to add a new category:
Notice how I have only provided a Name for the Category here. The Slug (controls the URL where the category is accessed) is automatically generated based on the Name, but you can customize this if you want. The Description box can be filled out. However, I have actually found that a large majority of WP themes don't use this at all, so it is often a waste of time. After I click the Add New Category button at the bottom, the Category is created in the system and added to the list on the right:
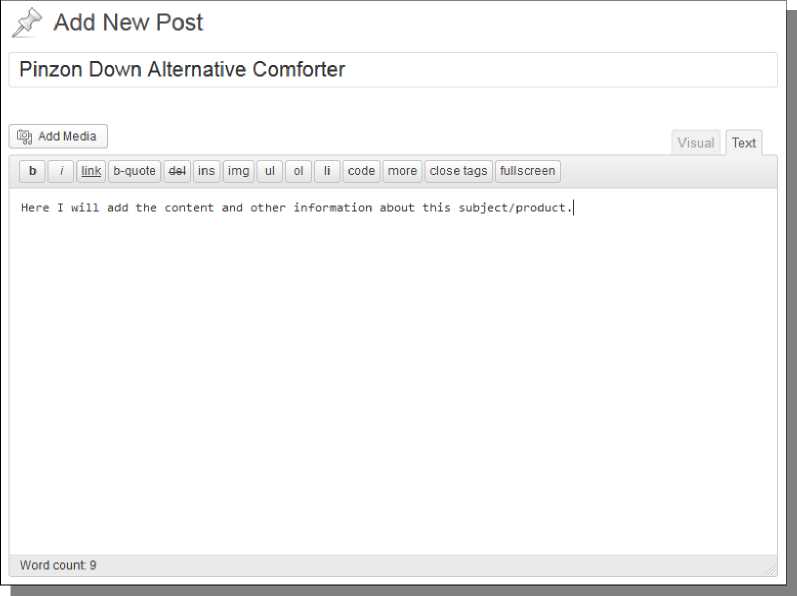
At this point, I am going to proceed on to creating a new Post, so you can see how all of this works. I'm going to click on the Add New link in the Posts menu (shown at the beginning of this chapter). I am now shown a page that allows me to create the content for this new post. Here is the main part of the page, where you provide a post title and the actual content:
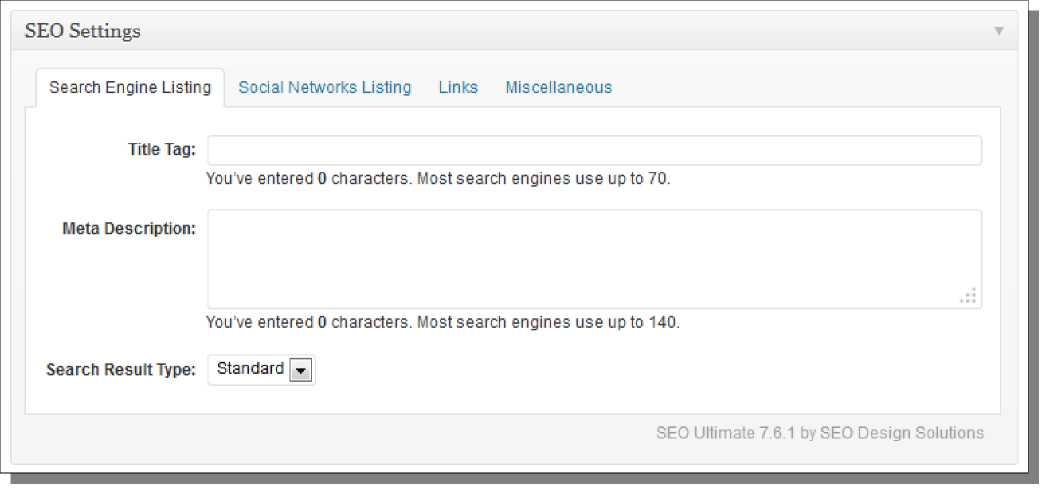
First, I need to point out the two tabs here on the right-hand side: Visual and Text. The Text tab is used for HTML code input, although you could still simply enter text here to write an article for the page. The Visual tab actually shows you a visual representation of what the page should look like, which completely avoids any HTML coding. This tab is excellent for those that do not have any HTML knowledge because you can simply select text, and then click one of the toolbar buttons to apply various HTML styles to your site. SEO Settings If you continue to go down the page from there, you should run into the SEO Settings section, as seen below:
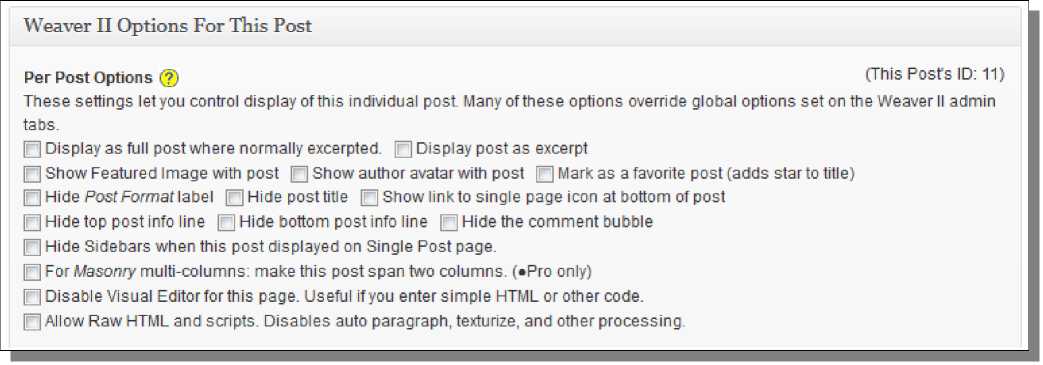
This actually exists here because of the SEO plugin we installed. It gives us a way to set various SEO settings for this particular page. In general, I always recommend providing a Title Tag and Meta Description here, although you can leave out the Title if you want it to simply be the Title you provided above for the post. The Social Networks Listing tab allows you to specify some information to be used if someone references this page on a social network, like Facebook. The Miscellaneous tab allows you to request that the site not get indexed by search engines. In general, you'll want to avoid doing this, but I still wanted to point it out in case you want to create a special page on your site that isn't shown to users, even in search engines, unless they actually have the link for it (could be a link you provide in a newsletter, for example). Weaver II Post Options Even more down the page are options available through the Weaver II theme that I am using. These options are very handy, especially if you want to change the way one specific page on your site looks. I will often use these settings to completely disable the header and footer on a page, when I am creating a sales page for example. A good practical use for average site builders is to use the Hide post title option here, if you didn't want to show the title of the post at the top (WordPress tends to repeat this title a couple of times at the top of the page - once for a link and another time for the title itself).
Publish Post On the right-hand side of the page at the top, you have a box with a blue Publish button in it. This is what you click when you are done creating the post and ready to make it live on your site.
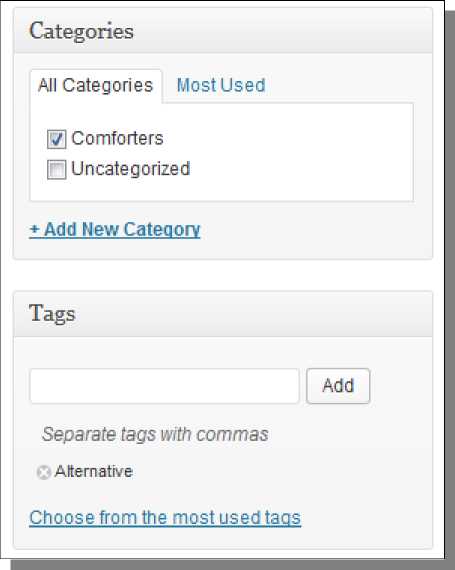
You can optionally Preview the post here or even Save Draft, to avoid publishing it (if you want to come back to it before making it live). The Edit link next to Publish immediately can also be used to schedule the publishing of a new post. This can be handy if you have a lot of content to build but want the site building to appear natural and not done all at one time. Categories and Tags There are also boxes for Categories and Tags on the right-hand side of the page. The Categories box is used to select the Category that you want to use for the site (multiple can be selected). The Tags box is used to provide keywords for the post, but these keywords should be words that would also relate to other posts on the site. This is basically a secondary grouping system used to connect similar posts together. I'm going to select the checkbox next to Comforters in the Categories box. I will also add a new Tag to this post: Alternative.
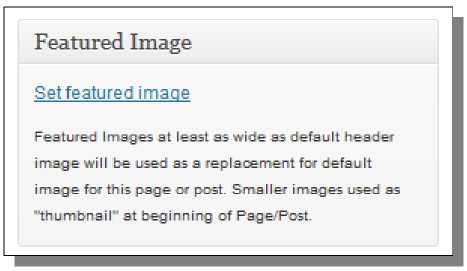
Featured Image Some WP themes will show image thumbnails next to each post when they are listed on a category or tag page, but a Featured Image needs to be set for each post for this to happen.
Just click on the Set featured image link, which will open up the WP Media system. You can select existing images or even upload your own. You can actually reach this Media window by clicking on the Add Media icon at the top of the page:
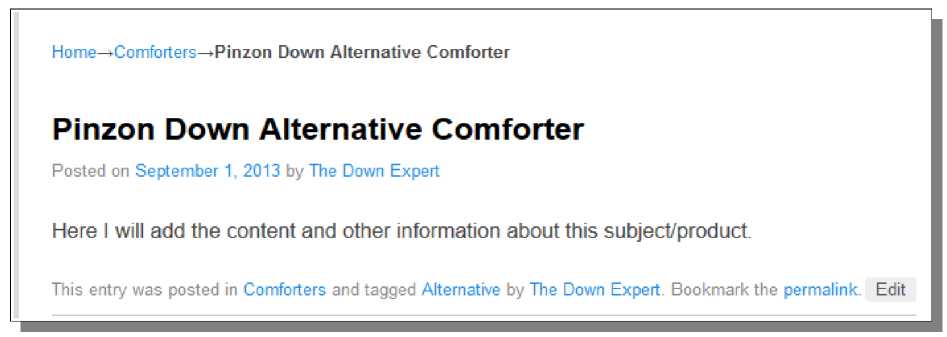
This system can be used to upload images and place them on your page. Posts In Action I am now going to Publish my post so you can see how this system works. I have shown a picture below so you can see what this post looks like on my live site:
A few things to point out here:
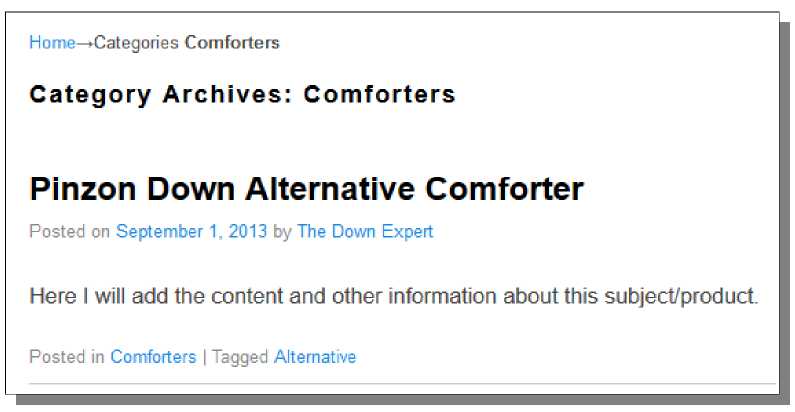
First, I'm going to visit the Category page link - this can be either link (the one from #1 or #3).
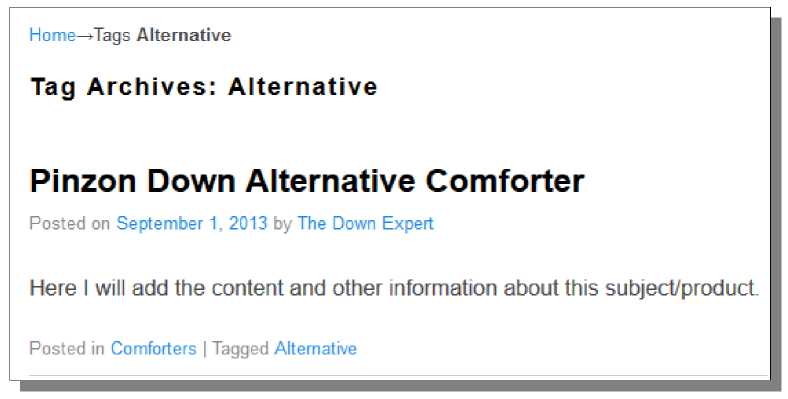
First, notice the text used at the top of the page now, Categories Comforters, and the text below it, Category Archives: Comforters. That information is essentially the base content of the category page. Obviously this doesn't allow much room for customization, since I don't even have control over this content here or any way to add additional information to this page. This is actually the number one reason why I don't use the WP Category system. WP spits out the category pages but doesn't offer a way to customize them. As a result, I feel like the pages aren't horribly useful for website visitors because they are simply a list of the posts in that category. You can see the actual content of this category page is the simple summary list of the post I just created. It also shows links for the categories and tags used for each post. If I now click on the Alternative link, I will got to the Alternative tag page:
As you can see here, this page looks almost identical to the previous page, except Comforters is now replaced with Alternative and Categories/Category is now replaced with Tags/Tag. Again, this doesn't make for a very useful page, and I also don't have an easy way to customize the content of this page. In addition to all of that, the actual content of the Category and Tag pages essentially end up being identical unless you have a lot of content on the site sorted into numerous Categories and Tags. What is important to consider here is that Google will index all of these pages. First, they won't be good for getting search rankings (the content will always be changing as you add new posts), and second, it could be considered duplicate content pages if you have numerous that are nearly identical. When you combine all of these things together, I simply avoid this system completely because it is just not worth the headache and the lack of control. © WordPress Usage >>> Back to TABLE OF CONTENTS <<< | |
| Views: 1913 | |


| Total comments: 0 | |